
Nail polish hacks – who knew those little bottles of color held so much potential beyond just pretty fingertips? I’m always amazed by the clever ways people find to repurpose everyday items, and nail polish is no exception! From fixing runs in your stockings to sealing envelopes, the possibilities are surprisingly endless.
While nail polish as we know it is a relatively modern invention, dating back to the early 20th century with the rise of the automobile industry (inspired by car paint!), the desire to adorn nails is ancient. Think Cleopatra staining her nails with henna! Today, we’re less about ancient dyes and more about modern solutions, and that’s where these amazing nail polish hacks come in.
Let’s face it, life is full of little annoyances. A chipped button, a frayed shoelace, a tarnished piece of jewelry – these small problems can really add up. That’s why I’m so excited to share these ingenious nail polish hacks with you. They’re quick, easy, and use something you probably already have in your bathroom cabinet. Imagine being able to stop a run in your tights before it ruins your whole day, or instantly waterproof your garden labels. These aren’t just tricks; they’re tiny life-savers that will make your day a little bit smoother and a lot more colorful!
Nail Polish Hacks: Unleash Your Inner Manicurist (and More!)
Hey there, fellow DIY enthusiasts! I’m so excited to share some of my absolute favorite nail polish hacks with you. Nail polish isn’t just for pretty nails; it’s a surprisingly versatile tool that can solve everyday problems and add a touch of sparkle to unexpected places. Get ready to be amazed!
Hack #1: Threading a Needle Made Easy
Is there anything more frustrating than trying to thread a needle? Those tiny eyes can be so elusive! But fear not, nail polish is here to save the day.
What you’ll need:
* Your favorite clear nail polish
* The thread you’re trying to thread
* The needle
Step-by-step instructions:
1. Prepare the thread: Cut the end of the thread at a sharp angle. This will help create a clean, pointed tip.
2. Apply the nail polish: Carefully apply a small amount of clear nail polish to the cut end of the thread. Don’t use too much, or it will become a gloppy mess. Just a thin coat will do.
3. Shape the thread: While the nail polish is still wet, gently roll the thread between your fingers to create a firm, pointed tip. This will help the thread slide through the eye of the needle more easily.
4. Let it dry: Allow the nail polish to dry completely. This usually takes just a minute or two. You’ll know it’s dry when the thread feels stiff and no longer tacky.
5. Thread the needle: Now, carefully thread the needle. The stiffened end of the thread should slide right through! If it doesn’t work on the first try, don’t give up. Just trim the end of the thread and repeat the process.
Hack #2: Stop a Run in Your Nylons (Before it Gets Worse!)
Oh no! A run in your nylons is a fashion emergency. But don’t panic; nail polish can prevent further damage.
What you’ll need:
* Clear nail polish
* A steady hand
Step-by-step instructions:
1. Locate the run: Find the exact point where the run started. This is crucial for stopping it from spreading.
2. Apply the nail polish: Carefully apply a small dot of clear nail polish to the very beginning and end of the run. This will act as a barrier, preventing the run from getting any longer.
3. Let it dry: Allow the nail polish to dry completely before putting on your shoes or moving around too much. This will ensure that the nail polish has properly sealed the run.
4. Optional: Reinforce the area: For extra protection, you can apply a second coat of nail polish to the same area after the first coat has dried.
Important Note: This is a temporary fix. The best solution is to replace the nylons, but this hack will buy you some time!
Hack #3: Color-Coding Your Keys for Easy Identification
Tired of fumbling through a bunch of keys trying to find the right one? Nail polish to the rescue! This is a super simple and effective way to color-code your keys.
What you’ll need:
* Various colors of nail polish
* Nail polish remover (just in case!)
* Cotton swabs or small brushes (optional, for more precise application)
* Paper towels or newspaper to protect your work surface
Step-by-step instructions:
1. Choose your colors: Select different colors of nail polish for each key. I like to use bright, contrasting colors so they’re easy to distinguish.
2. Prepare your keys: Clean the heads of your keys with a little nail polish remover to remove any dirt or grease. This will help the nail polish adhere better.
3. Apply the nail polish: Carefully apply a coat of nail polish to the head of each key. You can paint the entire head or just a small section, depending on your preference.
4. Let it dry: Allow the nail polish to dry completely before using the keys. This usually takes about 15-20 minutes.
5. Apply a second coat (optional): For added durability, you can apply a second coat of nail polish after the first coat has dried.
6. Enjoy your organized keys: Now you can easily identify your keys at a glance!
Hack #4: Waterproofing Labels and Small Items
Want to protect labels or small items from water damage? Nail polish can create a waterproof barrier.
What you’ll need:
* Clear nail polish
* The item you want to waterproof (labels, small decorations, etc.)
* A small brush (optional, for more precise application)
Step-by-step instructions:
1. Prepare the item: Make sure the item you want to waterproof is clean and dry.
2. Apply the nail polish: Carefully apply a thin coat of clear nail polish to the surface you want to protect. For labels, apply the nail polish over the printed area.
3. Let it dry: Allow the nail polish to dry completely. This usually takes about 30 minutes.
4. Apply a second coat (optional): For extra protection, you can apply a second coat of nail polish after the first coat has dried.
Important Note: This hack works best for small items and labels that won’t be subjected to heavy wear and tear.
Hack #5: Tightening Loose Screws
Loose screws driving you crazy? Nail polish can help them stay put!
What you’ll need:
* Clear nail polish
* A screwdriver
Step-by-step instructions:
1. Tighten the screw: First, try to tighten the screw as much as possible with a screwdriver.
2. Apply the nail polish: Apply a small amount of clear nail polish to the screw head and the surrounding area. The nail polish will act as an adhesive, helping to hold the screw in place.
3. Let it dry: Allow the nail polish to dry completely before using the item. This usually takes about an hour.
Important Note: This is a temporary fix. If the screw continues to loosen, you may need to replace it with a new one.
Hack #6: Sealing Envelopes Without Licking
Okay, licking envelopes is kind of gross, right? Especially these days! Nail polish offers a sanitary solution.
What you’ll need:
* Clear nail polish
* The envelope you want to seal
Step-by-step instructions:
1. Fold the envelope flap: Fold the envelope flap down as you normally would.
2. Apply the nail polish: Apply a thin line of clear nail polish along the edge of the flap where it meets the envelope.
3. Press and hold: Press the flap down firmly for a few seconds until the nail polish starts to dry.
4. Let it dry completely: Allow the nail polish to dry completely before mailing the envelope.
Hack #7: Preventing Jewelry from Tarnishing
Want to keep your favorite jewelry looking shiny and new? A coat of clear nail polish can help prevent tarnishing.
What you’ll need:
* Clear nail polish
* The jewelry you want to protect
* A soft cloth
Step-by-step instructions:
1. Clean the jewelry: Make sure the jewelry is clean and dry before applying the nail polish. Use a soft cloth to remove any dirt or oils.
2. Apply the nail polish: Carefully apply a thin coat of clear nail polish to the entire surface of the jewelry. Be sure to cover all the nooks and crannies.
3. Let it dry: Allow the nail polish to dry completely before wearing the jewelry. This usually takes about 30 minutes.
Important Note: This hack works best for costume jewelry. Avoid using it on delicate or valuable pieces, as the nail polish could potentially damage them.
Hack #8: Fixing Frayed Shoelaces
Frayed shoelaces are annoying and can make your shoes look old and worn. Nail polish can help prevent further fraying.
What you’ll need:
* Clear nail polish
* Frayed shoelaces
Step-by-step instructions:
1. Trim the frayed ends: Carefully trim any loose threads from the frayed ends of the shoelaces.
2. Apply the nail polish: Apply a generous amount of clear nail polish to the frayed ends of the shoelaces.
3. Shape the ends: While the nail polish is still wet, gently roll the ends of the shoelaces between your fingers to create a firm, pointed tip.
4. Let it dry: Allow the nail polish to dry completely. This usually takes about 15-
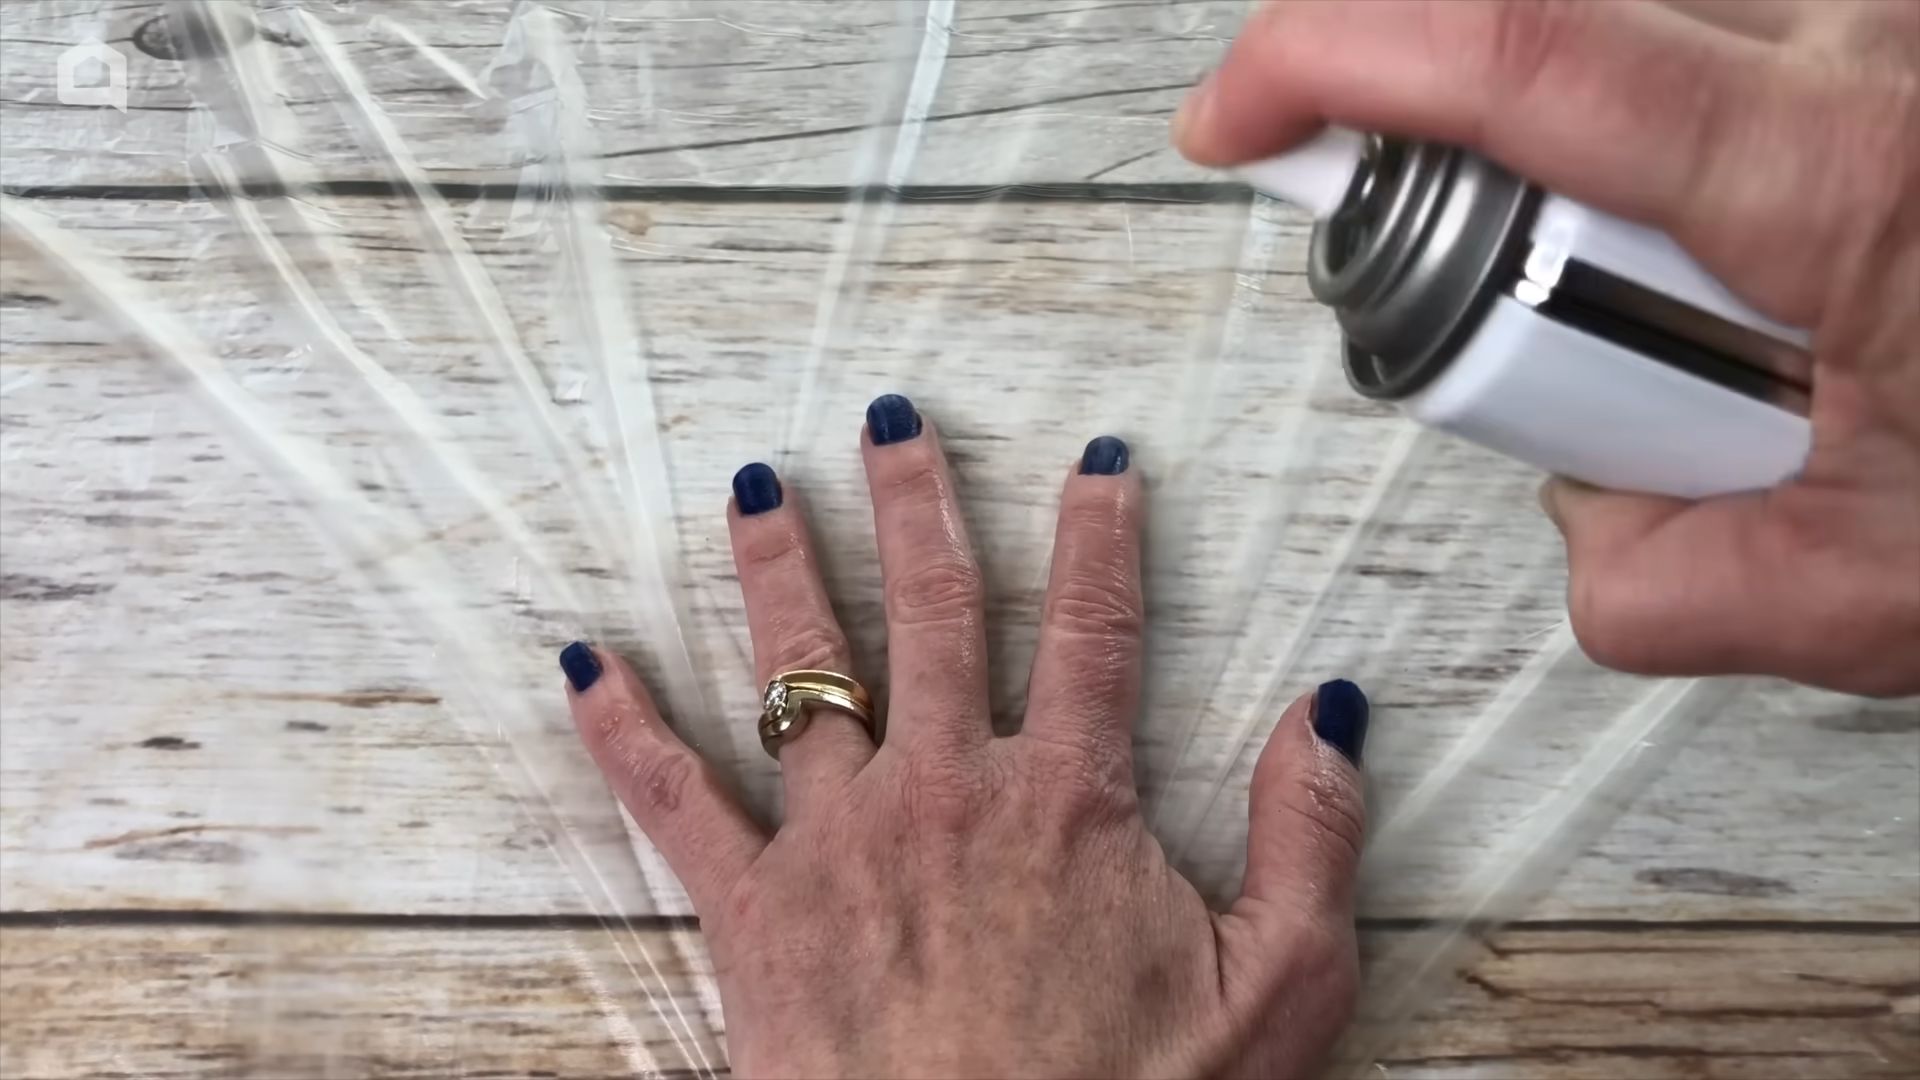
Conclusion
So, there you have it! This simple yet incredibly effective DIY nail polish hack is a game-changer for anyone who loves a flawless manicure but hates the mess and the hassle. We’ve shown you how to transform your nail polish application experience, making it cleaner, easier, and ultimately, more enjoyable.
Why is this a must-try? Because it addresses the common frustrations associated with painting your nails at home. No more dreaded polish spills on your skin, no more struggling to achieve clean lines, and no more spending ages cleaning up afterwards. This hack is all about efficiency and precision, allowing you to achieve salon-worthy results in the comfort of your own home. It’s a time-saver, a money-saver (think of all the cotton swabs and nail polish remover you’ll save!), and a sanity-saver.
But the beauty of this DIY trick lies in its adaptability. Feel free to experiment with different materials. While we’ve suggested using petroleum jelly or a peel-off base coat, you could also try using liquid latex for a more robust barrier. Consider using different application tools too. A small angled brush can be incredibly precise for applying the protective barrier, especially around the cuticles.
And don’t limit yourself to just preventing spills! This technique can also be used to create stunning nail art. Imagine using the barrier to create negative space designs, clean lines for geometric patterns, or even to protect areas while you sponge on gradients. The possibilities are truly endless!
We wholeheartedly encourage you to give this DIY nail polish hack a try. It’s quick, easy, and requires minimal supplies. We’re confident that you’ll be amazed at the difference it makes. Once you’ve experienced the ease and precision of this method, you’ll wonder how you ever painted your nails without it.
More importantly, we want to hear about your experience! Did you find this hack helpful? Did you discover any variations that worked particularly well for you? Share your tips, tricks, and photos in the comments below. Let’s create a community of nail polish enthusiasts who are passionate about achieving flawless manicures with ease. Your feedback will not only help other readers but also inspire us to create even more helpful and innovative DIY solutions. Embrace the power of this simple **nail polish hack** and unlock a world of perfectly polished possibilities!
Frequently Asked Questions (FAQ)
Q: What exactly is the DIY nail polish hack you’re referring to?
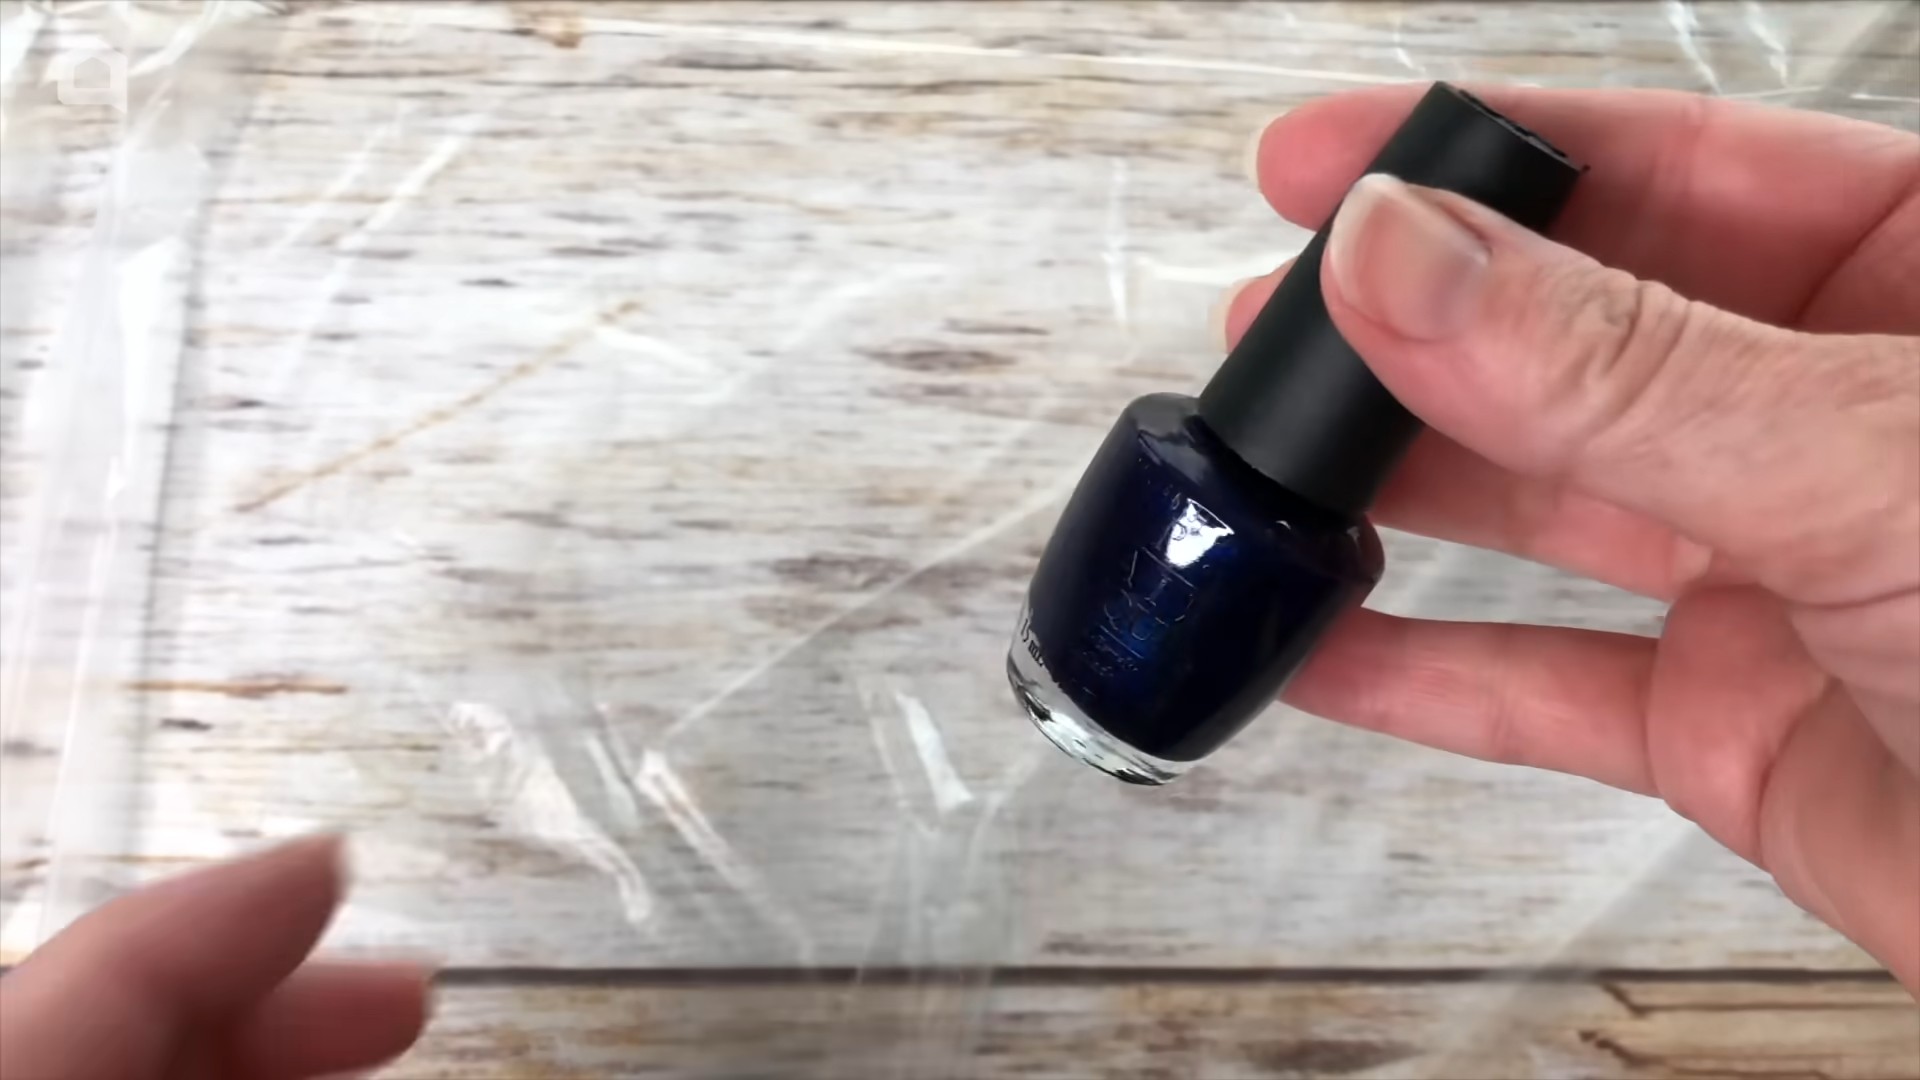
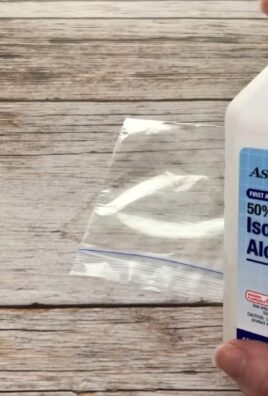
A: The DIY nail polish hack involves creating a temporary barrier around your nails before applying nail polish. This barrier prevents the polish from getting on your skin, making cleanup much easier and resulting in a cleaner, more professional-looking manicure. The most common materials used for this barrier are petroleum jelly, a peel-off base coat, or liquid latex.
Q: Why should I bother with this hack? Isn’t it just easier to clean up the polish after I’m done?
A: While cleaning up after painting your nails is an option, this hack offers several advantages. First, it saves time and effort. Cleaning up stray polish can be tedious and require multiple cotton swabs and applications of nail polish remover. Second, it prevents staining of the skin, especially with darker or more pigmented polishes. Third, it allows for more precise application, leading to a more professional-looking manicure. Finally, it’s particularly useful for nail art techniques that require clean lines or negative space.
Q: What’s the best material to use for the barrier: petroleum jelly, peel-off base coat, or liquid latex?
A: The best material depends on your personal preference and the type of manicure you’re doing.
* **Petroleum Jelly:** This is the most readily available and affordable option. It’s easy to apply and remove, but it can be a bit messy and may not provide as precise a barrier as the other options.
* **Peel-Off Base Coat:** This is a good option if you want a cleaner application and easier removal. Simply apply a thin layer around your nails, let it dry completely, and then peel it off after you’ve finished painting your nails.
* **Liquid Latex:** This provides the most robust and precise barrier. It dries quickly and peels off easily, leaving a very clean edge. However, some people may be sensitive to latex, so it’s important to do a patch test first.
Q: How do I apply the barrier correctly?
A: Regardless of the material you choose, the key is to apply a thin, even layer around your nails, covering the skin around the cuticles and along the sides of your nails. Use a small brush or applicator to ensure precision. Avoid getting the barrier on your actual nail, as this will prevent the polish from adhering properly. Allow the barrier to dry completely before applying your nail polish, especially if you’re using a peel-off base coat or liquid latex.
Q: What if I accidentally get the barrier on my nail?
A: If you accidentally get the barrier on your nail, simply remove it with a cotton swab dipped in nail polish remover before applying your nail polish. Make sure the nail surface is clean and dry before proceeding.
Q: Can I use this hack for nail art?
A: Absolutely! This hack is fantastic for nail art. You can use the barrier to create clean lines for geometric designs, protect areas while you sponge on gradients, or create negative space manicures. The possibilities are endless!
Q: How do I remove the barrier after I’ve finished painting my nails?
A: If you’re using petroleum jelly, simply wipe it away with a cotton swab. If you’re using a peel-off base coat or liquid latex, gently peel it off with your fingers or tweezers. Be careful not to smudge your nail polish while removing the barrier.
Q: My peel-off base coat is peeling off before I even apply the nail polish. What am I doing wrong?
A: This could be due to a few reasons. First, make sure you’re applying a thin, even layer of the peel-off base coat. A thick layer may take longer to dry and be more prone to peeling. Second, ensure that your nails are clean and dry before applying the base coat. Any oils or residue on your nails can prevent the base coat from adhering properly. Finally, some peel-off base coats are simply more prone to peeling than others. Try a different brand to see if that makes a difference.
Q: I’m allergic to latex. Can I still use this hack?
A: If you’re allergic to latex, avoid using liquid latex as a barrier. Petroleum jelly or a peel-off base coat are excellent alternatives. Always read the ingredient list of any product you use to ensure it doesn’t contain any allergens.
Q: Where can I buy liquid latex for nail art?
A: Liquid latex for nail art is readily available online at retailers like Amazon and Etsy. You can also find it at beauty supply stores and craft stores.
Q: Can I reuse the peel-off base coat or liquid latex after I’ve peeled it off?
A: No, you cannot reuse the peel-off base coat or liquid latex after you’ve peeled it off. It will be contaminated with nail polish and other debris.
Q: This sounds great! I’m excited to try it. Any final tips?
A: Yes! Practice makes perfect. Don’t be discouraged if your first attempt isn’t flawless. With a little practice, you’ll become a pro at applying the barrier and achieving perfectly polished nails. And remember to share your experiences and tips with us in the comments below! We can’t wait to see your beautiful manicures!

Leave a Comment