
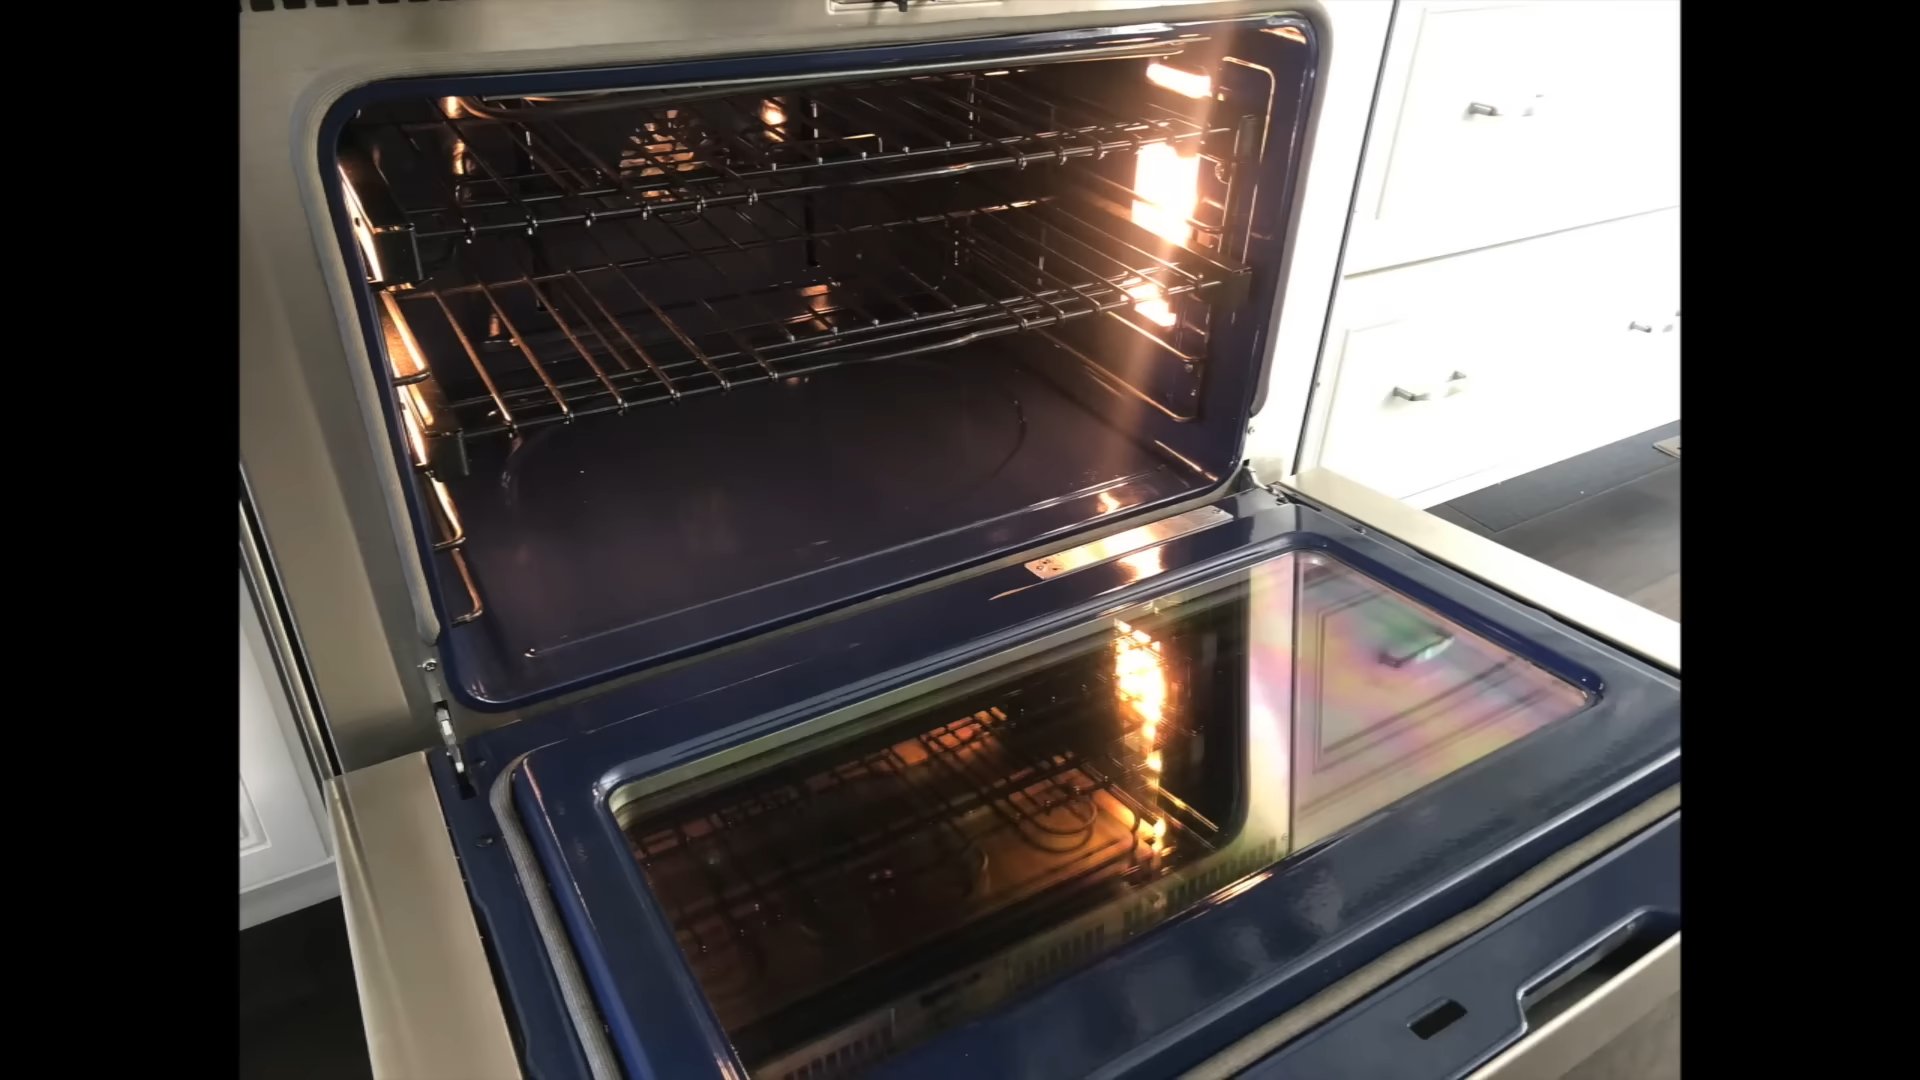
Natural Oven Cleaning DIY: Are you tired of harsh chemicals and lingering fumes every time you clean your oven? I know I was! For years, I dreaded oven cleaning day, putting it off until burnt food aromas practically became a permanent kitchen fixture. But what if I told you there’s a simple, effective, and completely natural way to get your oven sparkling clean?
The quest for a clean oven is nothing new. Historically, people have used everything from wood ash to lemon juice to combat baked-on grime. Before the advent of modern cleaning products, resourcefulness and natural ingredients were key. Think about our grandmothers, who relied on simple, time-tested methods to keep their homes spotless. Now, we can tap into that same wisdom!
In today’s world, we’re all becoming more conscious of the products we use in our homes. Many commercial oven cleaners contain harsh chemicals that can be harmful to our health and the environment. That’s why I’m so excited to share this natural oven cleaning DIY method with you. It’s not only safer and more eco-friendly, but it’s also incredibly effective and uses ingredients you probably already have in your pantry. Say goodbye to toxic fumes and hello to a sparkling clean oven, the natural way!
DIY Natural Oven Cleaning: A Sparkling Clean Oven Without Harsh Chemicals
Okay, let’s face it, cleaning the oven is probably on everyone’s list of least favorite chores. But it doesn’t have to be a toxic nightmare filled with harsh chemicals! I’m going to show you how to get your oven sparkling clean using simple, natural ingredients you probably already have in your pantry. This method is not only effective but also much safer for you, your family, and the environment.
What You’ll Need:
Before we dive in, let’s gather our supplies. This is a pretty straightforward process, so the list is short and sweet:
* Baking soda
* White vinegar
* Water
* Spray bottle
* Spatula or scraper (plastic or silicone is best to avoid scratching)
* Old cloths or sponges
* Rubber gloves (optional, but recommended)
* Small bowl
* Paper towels (optional)
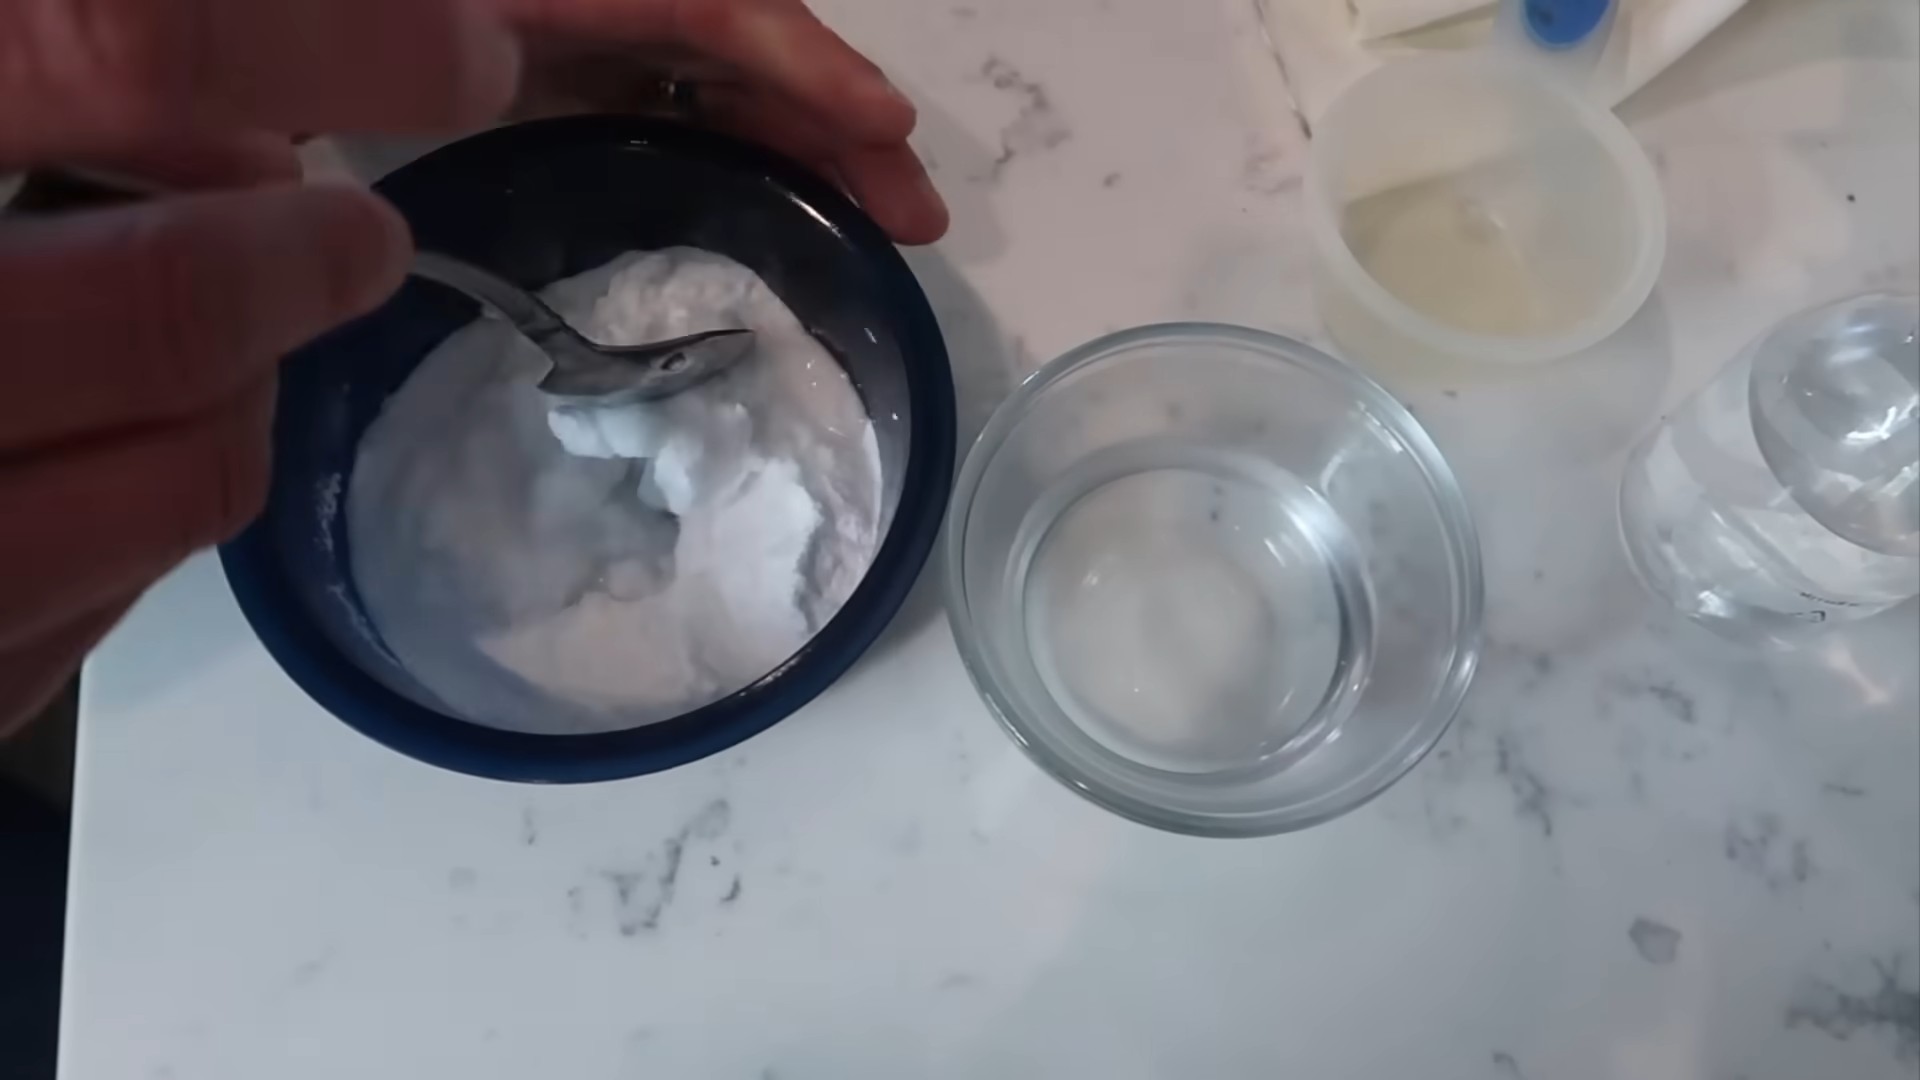
Phase 1: The Baking Soda Paste
This is where the magic begins! We’re going to create a powerful, yet gentle, cleaning paste that will loosen all that baked-on grime.
1. Empty the Oven: First things first, remove everything from your oven. This includes racks, baking stones, thermometers, and anything else you might have stored in there. We need a blank canvas to work with.
2. Mix the Paste: In your small bowl, combine 1/2 cup of baking soda with a few tablespoons of water. Add the water gradually, mixing until you form a thick, spreadable paste. You want it to be thick enough to stick to the oven walls, but not so thick that it’s difficult to spread. I usually aim for a consistency similar to frosting.
3. Coat the Oven: Now, put on your gloves (if you’re using them) and start applying the baking soda paste to the interior surfaces of your oven. This includes the walls, floor, door (inside and out), and even the heating elements (if you can reach them safely – make sure the oven is OFF and COOL!). Avoid the heating elements if you’re not comfortable reaching them.
* Important Tip: I find it easiest to apply the paste with my hands, but you can also use a spatula or a sponge. Just make sure you get a good, even coating. Don’t be shy! The thicker the layer, the better it will work.
4. Let it Sit (and Work its Magic!): This is the most important step! Once you’ve coated the entire oven, close the door and let the baking soda paste sit for at least 12 hours, or even overnight. The longer it sits, the more time it has to break down the grease and grime. I usually do this before I go to bed so it can work its magic while I sleep.
Phase 2: The Vinegar Power Wash
After the baking soda has had its time to work, we’re going to unleash the power of vinegar! This will react with the baking soda, creating a fizzing action that helps to lift away the loosened grime.
1. Prepare the Vinegar: Pour some white vinegar into your spray bottle. You don’t need to dilute it; we’re using it full strength.
2. Spray the Vinegar: Open the oven and generously spray the vinegar all over the baking soda paste. You’ll notice it starts to fizz and bubble – that’s exactly what we want! This reaction helps to loosen the remaining grime and make it easier to wipe away.
3. Wipe Away the Grime: Using your old cloths or sponges, start wiping away the baking soda and vinegar mixture. You’ll be surprised at how easily the grime comes off! You might need to use a little elbow grease in some areas, especially if you have stubborn baked-on messes.
* Dealing with Stubborn Spots: If you encounter any particularly stubborn spots, use your spatula or scraper to gently scrape them away. Be careful not to scratch the oven surface! You can also try applying a little more baking soda paste to the area and letting it sit for a few more minutes before wiping.
4. Rinse and Repeat (if necessary): Once you’ve wiped away all the baking soda and vinegar mixture, rinse the oven thoroughly with clean water. You can use a damp cloth or sponge to do this. You might need to rinse several times to remove all traces of the baking soda. If you still see some residue, repeat the vinegar spraying and wiping process.
Phase 3: Cleaning the Racks
While we’re waiting for the baking soda paste to work its magic inside the oven, let’s tackle those grimy oven racks.
1. Soak the Racks: The easiest way to clean oven racks is to soak them in hot, soapy water. Fill your bathtub (or a large utility sink) with hot water and add a generous amount of dish soap. Submerge the racks in the water and let them soak for at least 30 minutes, or even longer if they’re really dirty.
* Alternative Soaking Method (for those without a tub): If you don’t have a bathtub or large sink, you can wrap the racks in old towels soaked in hot, soapy water. Place the wrapped racks in a large garbage bag and let them sit for several hours.
2. Scrub the Racks: After soaking, use a scrub brush or sponge to scrub the racks clean. The grime should come off much easier after soaking. For stubborn spots, you can use a paste of baking soda and water, just like we did for the oven interior.
3. Rinse and Dry: Rinse the racks thoroughly with clean water and dry them with a clean towel. Make sure they’re completely dry before putting them back in the oven.
Phase 4: Final Touches and Reassembly
We’re almost there! Just a few more steps to a sparkling clean oven.
1. Wipe Down the Exterior: Don’t forget to wipe down the exterior of your oven! Use a damp cloth and a mild cleaner to remove any fingerprints, splatters, or spills.
2. Dry Thoroughly: Make sure the entire oven, inside and out, is completely dry before putting the racks back in. This will help prevent rust and ensure that your oven stays clean for longer.
3. Reassemble: Once everything is dry, put the oven racks back in place.
4. Optional: Baking Soda Deodorizer: To keep your oven smelling fresh, you can place a small bowl of baking soda inside the oven. Baking soda is a natural odor absorber and will help to neutralize any lingering smells.
Tips and Tricks for a Sparkling Clean Oven:
* Prevention is Key: The best way to keep your oven clean is to prevent messes from happening in the first place. Use oven liners or baking sheets to catch spills and splatters.
* Clean Regularly: Don’t wait until your oven is completely covered in grime to clean it. A quick wipe-down after each use can help prevent buildup and make cleaning much easier in the long run.
* Ventilation is Important: When cleaning your oven, make sure you have good ventilation. Open a window or turn on the exhaust fan to help remove any fumes.
* Test in an Inconspicuous Area: Before applying the baking soda paste to the entire oven, test it in a small, inconspicuous area to make sure it doesn’t damage the surface.
* Patience is a Virtue: This method takes time, but it’s worth it! The longer you let the baking soda paste sit, the easier it will be to remove the grime.
* Don’t Use Abrasive Cleaners: Avoid using abrasive cleaners or scouring pads, as they can scratch the oven surface.
* Safety First: Always unplug your oven before cleaning it. And be careful when working with hot water and cleaning solutions.
And there you have it! A sparkling clean oven without the use of harsh chemicals. I hope you found this guide helpful. Happy cleaning!
Conclusion
So, there you have it! Ditching those harsh chemicals and embracing this natural oven cleaning DIY method is more than just a trend; it’s a smart, safe, and effective way to keep your oven sparkling. We’ve walked you through a simple process that utilizes ingredients you likely already have in your pantry: baking soda, vinegar, and a little bit of elbow grease.
But why is this a must-try? Beyond the obvious health benefits of avoiding toxic fumes and residues, this method is incredibly cost-effective. Think about it – no more expensive oven cleaners that promise the world but often fall short. This DIY solution delivers impressive results without breaking the bank. Plus, it’s environmentally friendly! You’re reducing your carbon footprint by opting for natural alternatives and minimizing plastic waste.
The beauty of this method also lies in its adaptability. While the baking soda paste and vinegar spray are the core components, feel free to experiment with variations to suit your specific needs and preferences. For instance, if you’re dealing with particularly stubborn baked-on grime, you can add a few drops of lemon essential oil to your baking soda paste for its degreasing properties and a fresh, citrusy scent. Alternatively, for a more abrasive scrub, you can mix in a small amount of salt with the baking soda.
Another variation involves the pre-heating stage. Some ovens benefit from a brief pre-heat (around 200°F or 93°C) before applying the baking soda paste. This can help loosen up the grime and make it easier to remove. However, always ensure your oven is cool enough to handle safely before applying the paste.
Don’t forget the power of steam cleaning! After scraping away the majority of the baking soda paste, place a bowl of water in your oven and heat it to a low temperature (around 250°F or 120°C) for about 20-30 minutes. The steam will help loosen any remaining residue, making it even easier to wipe clean.
We understand that tackling a dirty oven can seem daunting, but trust us, this natural oven cleaning DIY is surprisingly straightforward and rewarding. The satisfaction of seeing your oven transform from a greasy mess to a gleaming appliance is truly unmatched.
So, what are you waiting for? Give this method a try! We’re confident that you’ll be amazed by the results. And more importantly, we want to hear about your experience. Did you try any variations? Did you find any particular tips or tricks that worked well for you? Share your stories, photos, and feedback in the comments below. Let’s create a community of clean oven enthusiasts and spread the word about this fantastic natural cleaning solution! Your insights could help others discover the joy of a sparkling clean oven, achieved without harmful chemicals. Let us know how this natural oven cleaning DIY worked for you!
Frequently Asked Questions (FAQ)
1. How often should I use this natural oven cleaning method?
The frequency of cleaning depends on how often you use your oven and how much it tends to get dirty. For average use, cleaning your oven every 3-6 months is generally sufficient. However, if you frequently bake or roast, or if you notice spills and splatters accumulating quickly, you might want to clean it more often, perhaps every 1-2 months. Regular spot cleaning of spills as they happen can also help extend the time between deep cleans.
2. Can I use this method on a self-cleaning oven?
While this method is generally safe for most ovens, it’s always best to consult your oven’s manual before using any cleaning products, even natural ones. Some self-cleaning ovens have specific coatings or components that could be damaged by baking soda or vinegar. If your manual advises against using these ingredients, it’s best to err on the side of caution. However, many people successfully use this method on self-cleaning ovens, but they skip the self-cleaning cycle altogether.
3. What if I have a really stubborn stain that won’t come off?
For particularly stubborn stains, you can try a few different approaches. First, make sure you’re using a thick enough layer of baking soda paste and that it’s had enough time to sit (ideally overnight). You can also try adding a small amount of salt or washing soda to the paste for extra scrubbing power. Another option is to create a concentrated vinegar solution and apply it directly to the stain, letting it sit for a few minutes before scrubbing. In extreme cases, a plastic scraper can be helpful, but be very careful not to scratch the oven’s surface.
4. Is it safe to use vinegar on all oven surfaces?
Vinegar is generally safe for most oven surfaces, including stainless steel and enamel. However, it’s always a good idea to test it in an inconspicuous area first, especially if you have a vintage or antique oven. Avoid using vinegar on heating elements or electrical components. If you’re unsure about a particular surface, consult your oven’s manual or contact the manufacturer.
5. My oven has a strong odor after cleaning. How can I get rid of it?
A lingering odor after cleaning is usually due to residual vinegar or baking soda. To eliminate the smell, you can try a few things. First, thoroughly wipe down the oven with a clean, damp cloth. Then, place a bowl of fresh lemon juice or a few lemon peels in the oven and heat it on low (around 200°F or 93°C) for about an hour. The lemon will help absorb any remaining odors and leave your oven smelling fresh. You can also try placing an open box of baking soda in the oven overnight to absorb odors.
6. Can I use this method to clean my oven door glass?
Yes, this method works well for cleaning oven door glass. Apply the baking soda paste to the glass, let it sit for a while, and then scrub with a non-abrasive sponge or cloth. For stubborn stains, you can use a plastic scraper. Finish by wiping the glass clean with a vinegar solution and a clean cloth.
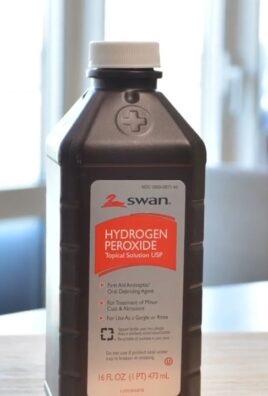
7. What if I don’t have baking soda or vinegar? Are there any alternatives?
While baking soda and vinegar are the most common and effective natural cleaning agents for ovens, there are a few alternatives you can try. Cream of tartar mixed with water can create a paste similar to baking soda. Lemon juice can also be used as a degreaser and odor absorber. However, baking soda and vinegar are generally the most readily available and cost-effective options.
8. Will this method work on a convection oven?
Yes, this method is safe to use on convection ovens. Just be sure to avoid getting any baking soda or vinegar on the convection fan or heating element. Follow the same steps as you would for a regular oven, and always consult your oven’s manual if you have any concerns.
9. How long does this natural oven cleaning DIY take?
The total time required for this natural oven cleaning DIY depends on the level of grime in your oven. The initial application of the baking soda paste takes about 10-15 minutes. The paste needs to sit for at least 3 hours, but ideally overnight. Scraping and wiping away the paste can take another 20-30 minutes. Overall, plan for at least 4 hours, but the majority of that time is passive, allowing the baking soda to work its magic.
10. Is this method safe for people with allergies or sensitivities?
Baking soda and vinegar are generally considered safe for people with allergies or sensitivities. However, it’s always a good idea to do a patch test on a small area of skin before using them extensively. If you have a known allergy to baking soda or vinegar, avoid using this method. If you experience any irritation or discomfort, discontinue use immediately.


Leave a Comment