
Tomato plant care can feel like a daunting task, right? I get it! You dream of juicy, sun-ripened tomatoes bursting with flavor, but the reality can sometimes be… well, a little less vibrant. Maybe your plants are looking a bit sad, or perhaps you’re battling pests and diseases. Don’t worry, you’re not alone! For centuries, cultivating tomatoes has been a cherished tradition, dating back to the Aztecs and Incas who first domesticated these vibrant fruits. From humble beginnings in South America, tomatoes have journeyed across the globe, becoming a staple in cuisines worldwide.
But let’s face it, modern gardening can present its own set of challenges. That’s why I’m so excited to share these simple yet effective DIY tricks and hacks that will transform your tomato plant care routine. Imagine harvesting baskets overflowing with plump, delicious tomatoes, all thanks to a few clever techniques you can easily implement at home. No more struggling with wilting leaves or battling blossom end rot! These DIY solutions are designed to save you time, money, and frustration, allowing you to truly enjoy the rewarding experience of growing your own tomatoes. So, grab your gardening gloves, and let’s dive in!
DIY Tomato Plant Support System: From Seedling to Harvest!
Hey there, fellow gardeners! I’m so excited to share my favorite DIY tomato plant support system with you. Forget those flimsy cages from the store – we’re building something sturdy, sustainable, and perfectly tailored to our tomato plants’ needs. This system will not only support your plants as they grow heavy with delicious tomatoes, but it will also improve air circulation, reduce disease, and make harvesting a breeze. Let’s get started!
Materials You’ll Need:
* Wooden Stakes: I prefer using cedar or redwood stakes because they’re naturally rot-resistant. You’ll need stakes that are at least 6-8 feet long, depending on the variety of tomato you’re growing. Determinate (bush) varieties might be okay with shorter stakes, but indeterminate (vining) varieties definitely need the extra height. I usually get 1.5″ x 1.5″ stakes for good stability.
* Heavy-Duty Twine or Garden Tape: Choose a strong twine or garden tape that won’t break easily under the weight of the tomatoes. Jute twine, sisal twine, or even nylon rope work well. Avoid thin, flimsy twine that will snap. Garden tape is a great option too, especially the stretchy kind.
* Measuring Tape or Ruler: Essential for accurate spacing and cutting.
* Hammer or Mallet: For driving the stakes into the ground. A rubber mallet is gentler on the stakes and prevents them from splitting.
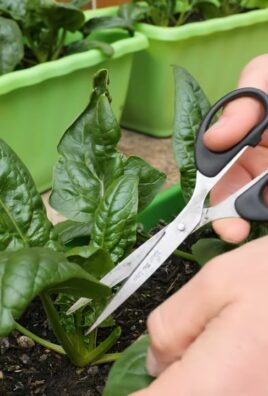
* Scissors or Pruning Shears: For cutting the twine or garden tape.
* Optional: Wood Preservative (for extending the life of your stakes), Gloves (to protect your hands), Level (to ensure your stakes are straight).
Planning Your Tomato Support System:
Before you start hammering, it’s crucial to plan the layout of your support system. This will depend on how many tomato plants you have and how much space you have available.
* Spacing: I usually space my tomato plants about 2-3 feet apart in rows. This gives them enough room to grow and allows for good air circulation.
* Stake Placement: For each tomato plant, you’ll need at least one stake. For larger, more vigorous varieties, you might even consider using two stakes per plant for extra support.
* Row Orientation: If possible, orient your rows north to south. This will ensure that all your plants receive equal sunlight throughout the day.
Step-by-Step Instructions: Building Your Tomato Support System
Okay, let’s get our hands dirty! Here’s how to build your awesome tomato support system:
1. Prepare the Stakes: If you’re using untreated wooden stakes, consider applying a wood preservative to the bottom portion that will be buried in the ground. This will help prevent rot and extend the life of your stakes. Let the preservative dry completely before proceeding.
2. Drive the Stakes into the Ground: Position a stake about 6-8 inches away from the base of each tomato plant. Use a hammer or mallet to drive the stake firmly into the ground. You’ll want to drive it in deep enough so that it’s stable and won’t wobble. I usually aim for at least 1-2 feet deep. Use a level to make sure the stake is straight. Repeat this process for each tomato plant. If you’re using two stakes per plant, position them on opposite sides of the plant.
3. First Tie: Once your tomato plant starts growing and reaches about 12-18 inches tall, it’s time to start tying it to the stake. Cut a length of twine or garden tape that’s long enough to wrap around the stake and the tomato stem, with some extra for tying. Gently wrap the twine around the stem, being careful not to crush it. Tie the twine securely to the stake, but not too tightly. You want to allow the stem to grow without being constricted. I usually use a figure-eight knot to provide a little give.
4. Continue Tying as the Plant Grows: As your tomato plant continues to grow, you’ll need to add more ties to support its increasing weight. Space the ties about 6-8 inches apart along the stem. Always tie the stem gently and loosely to allow for growth.
5. Pruning (Optional but Recommended): Pruning your tomato plants can help improve air circulation and reduce disease. Remove any suckers (the small shoots that grow in the crotch between the main stem and the branches) that appear below the first flower cluster. This will encourage the plant to focus its energy on producing fruit.
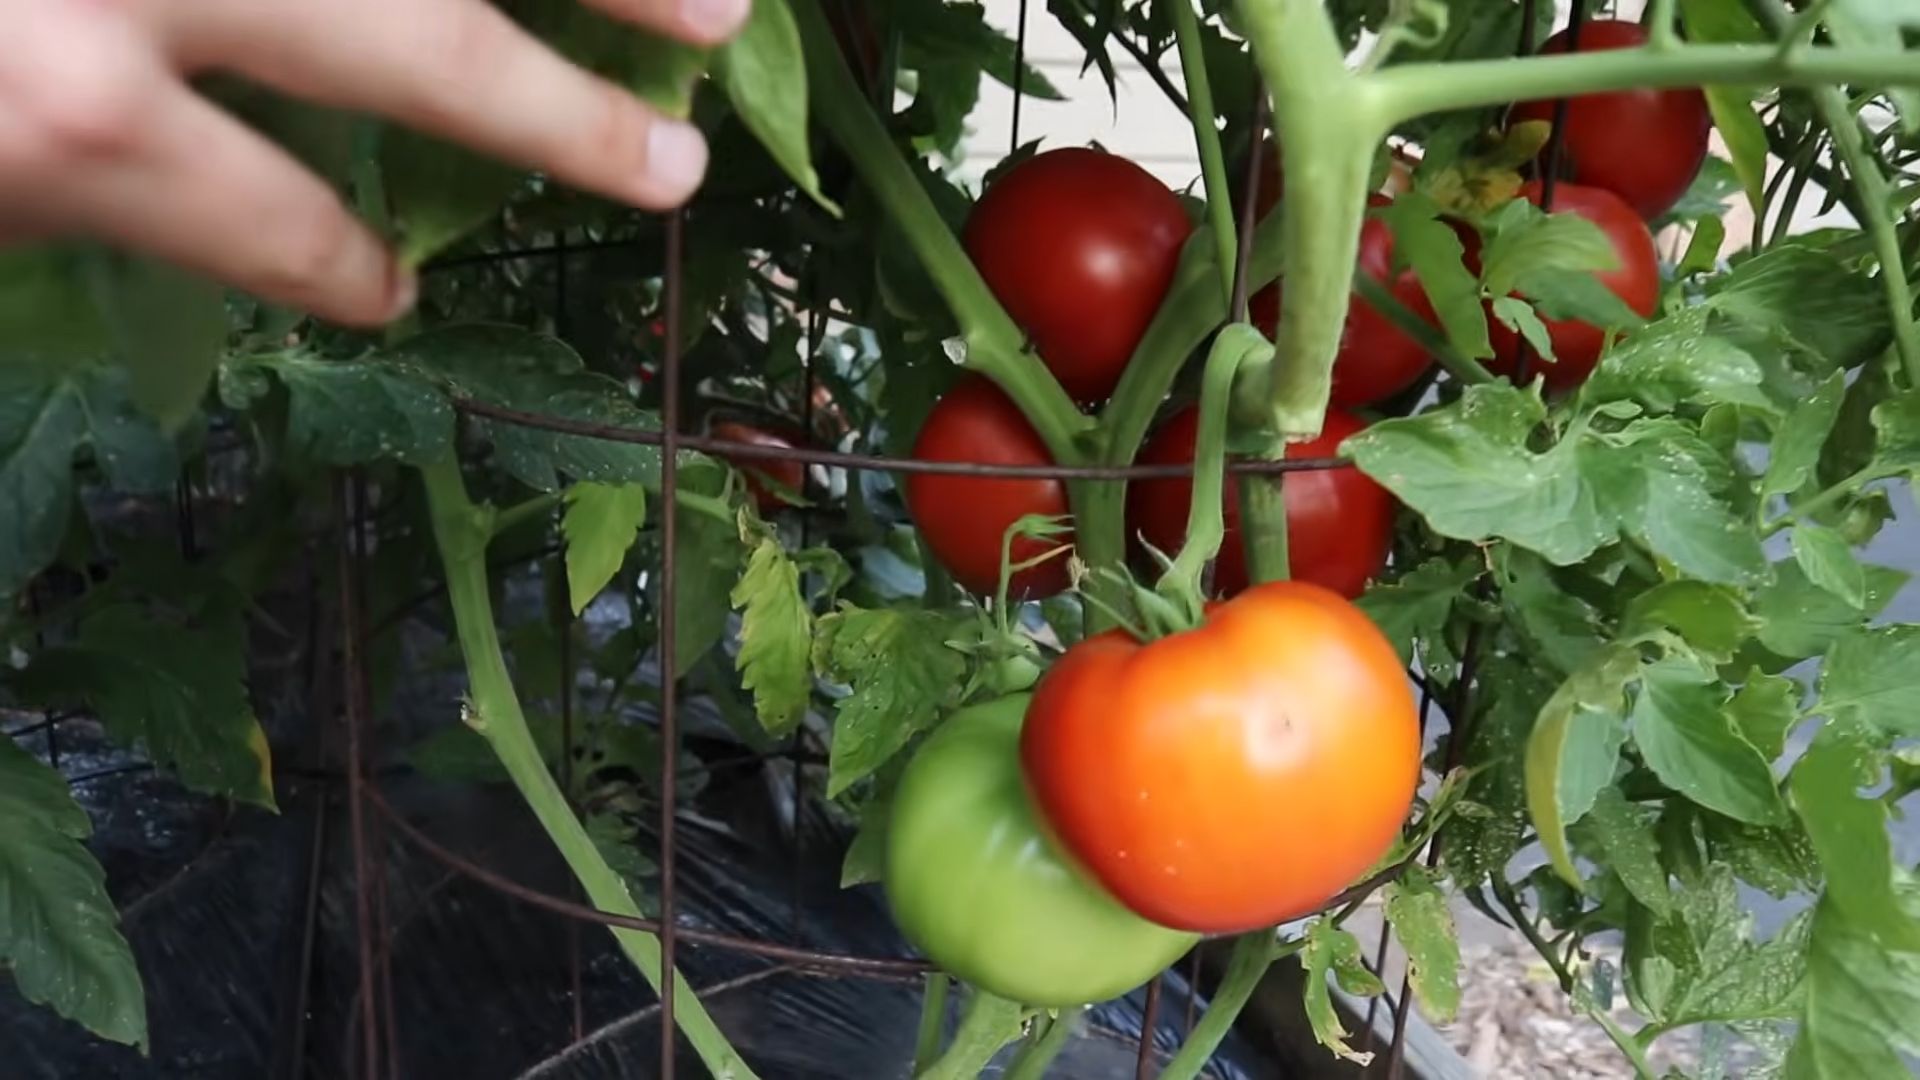
6. Harvesting: Your sturdy support system will make harvesting your tomatoes much easier. The plants will be upright and the tomatoes will be easily accessible. Simply snip the ripe tomatoes from the vine with pruning shears.
Alternative Support System: The Florida Weave
If you have a lot of tomato plants in a row, the Florida Weave is another fantastic support system. It’s a simple and effective way to support multiple plants with a single structure.
1. Drive Stakes: Drive stakes into the ground between every two tomato plants. The stakes should be about 6-8 feet tall and driven in at least 1-2 feet deep.
2. First Weave: When the plants are about 12-18 inches tall, tie twine to the first stake. Run the twine along one side of the row, weaving it in and out between the plants and around the stakes.
3. Second Weave: At the end of the row, wrap the twine around the last stake and run it back along the other side of the row, weaving it in and out between the plants and around the stakes.
4. Continue Weaving: Continue weaving the twine back and forth along the row as the plants grow, adding new layers of twine every 6-8 inches. This will create a strong and supportive structure for your tomato plants.
Troubleshooting and Tips:
* Stakes Breaking: If your stakes are breaking, it could be because they’re not strong enough or they’re not driven deep enough into the ground. Use thicker stakes and make sure they’re firmly planted.
* Twine Breaking: If your twine is breaking, it could be because it’s too thin or it’s not strong enough. Use a heavier-duty twine or garden tape.
* Plants Leaning: If your plants are leaning, it could be because they’re not getting enough support. Add more ties or consider using two stakes per plant.
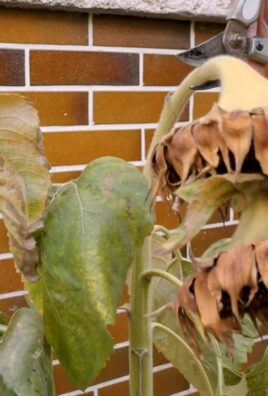
* Disease Prevention: Good air circulation is key to preventing disease in tomato plants. Make sure your plants are spaced properly and prune them regularly to remove any excess foliage.
* Watering: Water your tomato plants deeply and regularly, especially during hot weather. Avoid watering the foliage, as this can promote disease.
* Fertilizing: Fertilize your tomato plants regularly with a balanced fertilizer. Follow the instructions on the fertilizer package.
* Consider the Tomato Variety: Determinate varieties (bush tomatoes) generally need less support than indeterminate varieties (vining tomatoes). Choose your support system accordingly. Even determinate varieties benefit from some support to keep the fruit off the ground.
* Reusing Stakes: At the end of the season, clean your stakes and store them in a dry place. You can reuse them for many years to come. Just make sure to inspect them for any signs of rot or damage before using them again.
* Sunlight: Ensure your tomato plants receive at least 6-8 hours of sunlight per day. This is crucial for healthy growth and fruit production.
* Soil: Plant your tomatoes in well-drained soil that is rich in organic matter. Amend the soil with compost or other organic materials before planting.
* Pest Control: Keep an eye out for pests such as aphids, tomato hornworms, and whiteflies. Treat any infestations promptly with an appropriate insecticide or organic pest control method.
Why This DIY System Rocks:
* Cost-Effective: Building your own support system is much cheaper than buying pre-made cages.
* Customizable: You can tailor the system to your specific needs and the size of your plants.
* Sustainable: Using wooden stakes is a more sustainable option than using plastic cages.
* Durable: A well-built support system will last for many years.
* Improved Air Circulation: The open structure of the system allows for good air circulation, which helps prevent disease.
* Easier Harvesting: The upright plants make it easier to harvest your tomatoes.
I hope you found this guide helpful! Building your own tomato plant support system is a rewarding project that will help you grow healthy, productive tomato plants. Happy gardening!
Conclusion
So, there you have it! This simple yet effective DIY trick for tomato plant care can truly revolutionize your gardening experience. Forget complicated fertilizers and expensive store-bought solutions. By harnessing the power of readily available ingredients and a little bit of ingenuity, you can unlock the full potential of your tomato plants, resulting in a bountiful harvest of juicy, flavorful tomatoes.
Why is this a must-try? Because it’s not just about saving money; it’s about understanding the needs of your plants and providing them with targeted nutrition. This DIY approach allows you to customize the solution based on your specific soil conditions and the stage of growth your tomato plants are in. You’ll witness firsthand the difference a little extra care and attention can make.
Consider these variations to further tailor the trick to your garden:
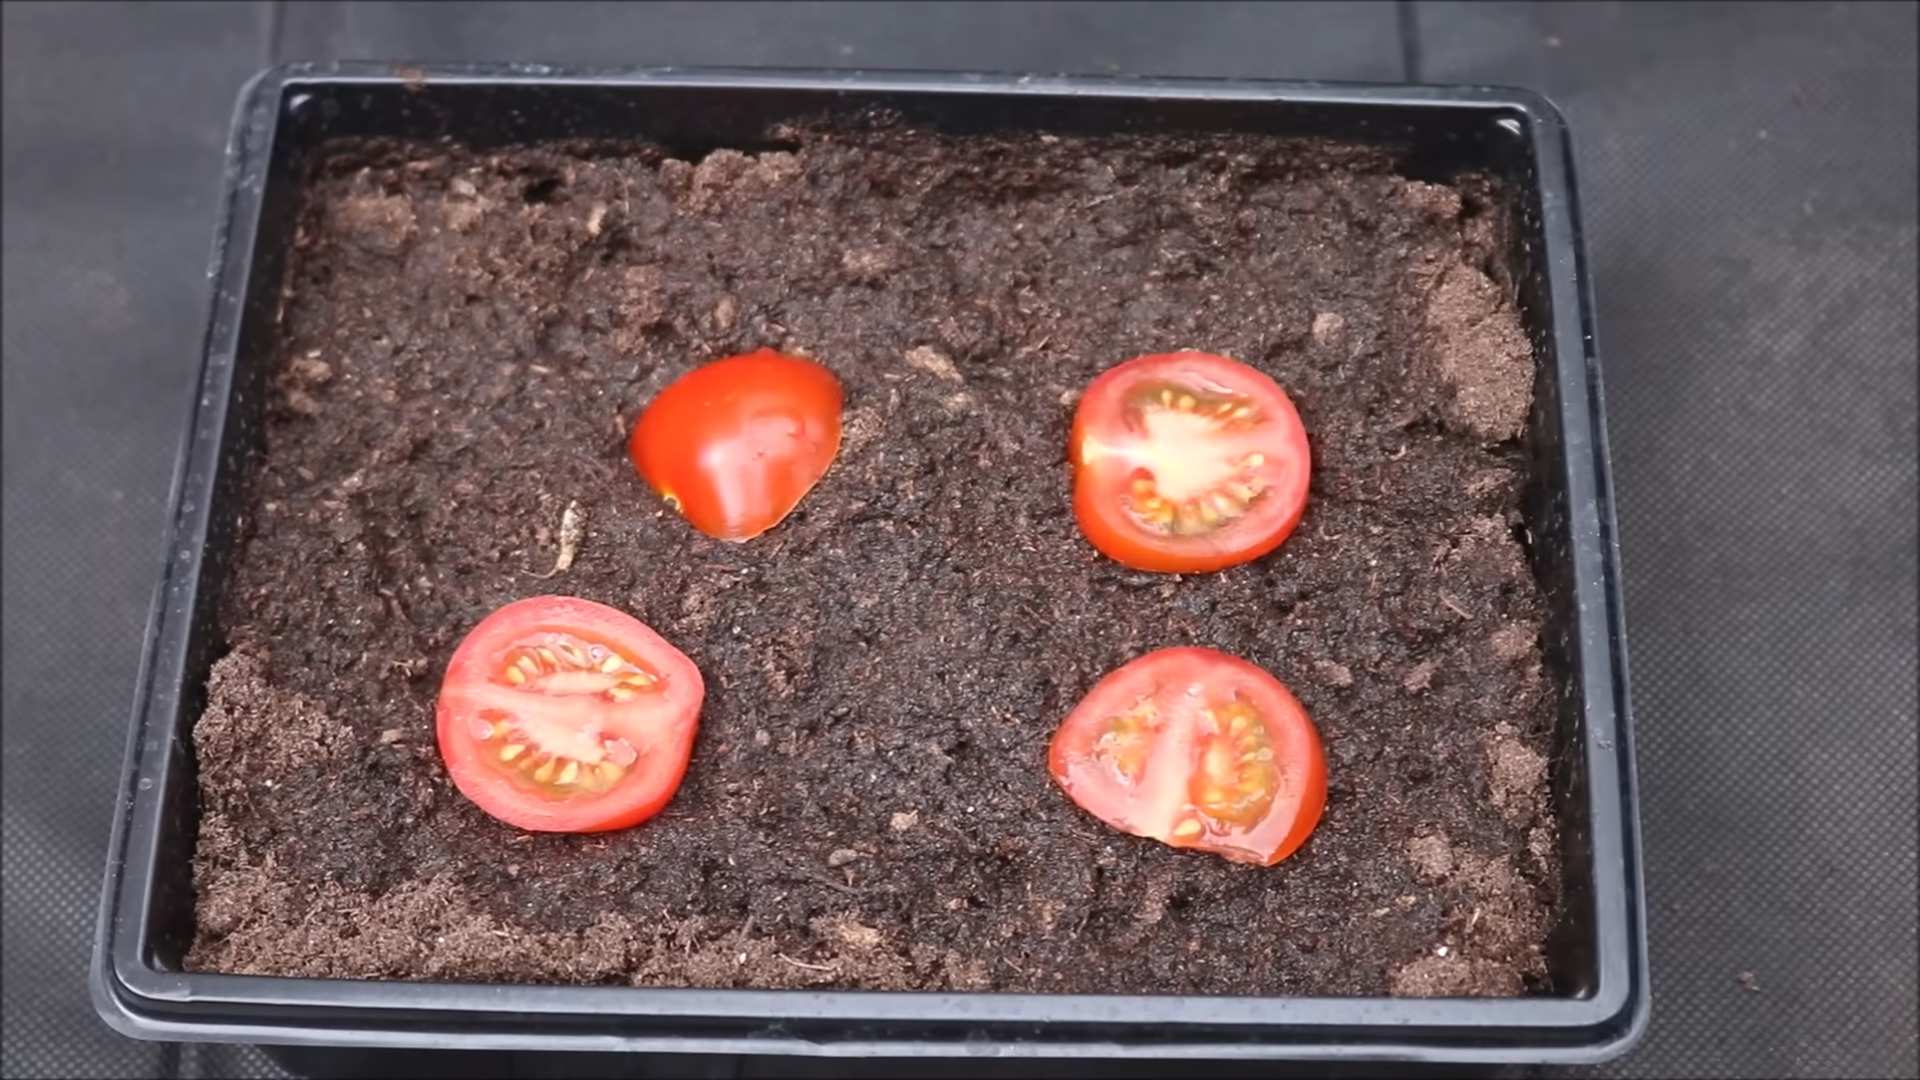
* For Seedlings: Dilute the solution even further for delicate seedlings to avoid overwhelming them. A quarter strength solution is often sufficient.
* For Blossom End Rot Prevention: If you’re prone to blossom end rot, consider adding a small amount of Epsom salts (magnesium sulfate) to the solution. Magnesium helps with calcium uptake, which is crucial for preventing this common tomato ailment.
* For Increased Potassium: Banana peels are a great source of potassium. You can steep banana peels in water for a few days and add that water to your DIY solution for an extra potassium boost, especially during fruit development.
* Compost Tea Enhancement: If you already use compost tea, you can incorporate elements of this DIY trick into your compost tea brewing process for an even more potent and beneficial concoction.
We’re confident that this DIY trick will become a staple in your tomato gardening routine. It’s easy, affordable, and incredibly effective. But don’t just take our word for it! We urge you to try it out for yourself and witness the amazing results.
We’re eager to hear about your experiences! Share your results, variations, and any tips you discover along the way in the comments section below. Let’s build a community of tomato-growing enthusiasts who are passionate about nurturing healthy, productive plants. Your insights could help other gardeners achieve their tomato-growing dreams. Happy gardening!
Frequently Asked Questions (FAQ)
What exactly is this DIY trick for tomato plant care?
This DIY trick involves creating a homemade fertilizer solution using common household ingredients to provide your tomato plants with essential nutrients. It’s a cost-effective and environmentally friendly alternative to commercial fertilizers. The specific ingredients and ratios will vary depending on the recipe, but the goal is always to deliver a balanced blend of nitrogen, phosphorus, and potassium, along with micronutrients, to support healthy growth and abundant fruit production.
How often should I apply this DIY solution to my tomato plants?
The frequency of application depends on several factors, including the age of your plants, the richness of your soil, and the specific recipe you’re using. As a general guideline, you can apply the solution every 2-3 weeks during the active growing season. For young seedlings, start with a diluted solution and apply it less frequently, perhaps once a month. Monitor your plants closely for any signs of nutrient deficiencies or excesses and adjust the frequency accordingly. If your plants are thriving, you may not need to apply the solution as often.
Can I use this DIY solution on other plants besides tomatoes?
While this DIY solution is specifically formulated for tomato plants, it can often be beneficial for other fruiting vegetables like peppers, eggplants, and cucumbers. However, it’s important to understand that different plants have different nutrient requirements. Before applying the solution to other plants, research their specific needs and adjust the recipe accordingly. For example, leafy greens may require a higher nitrogen content, while root vegetables may benefit from more phosphorus. Always test the solution on a small area of the plant first to ensure it doesn’t cause any adverse reactions.
What are the signs that my tomato plants need this DIY solution?
There are several telltale signs that your tomato plants may be lacking essential nutrients and could benefit from this DIY solution. These include:
* Yellowing leaves: This can indicate a nitrogen deficiency.
* Stunted growth: This can be a sign of a lack of phosphorus or other essential nutrients.
* Blossom end rot: This is caused by a calcium deficiency and can be prevented by adding Epsom salts to the solution.
* Poor fruit production: If your plants are producing few or small fruits, they may need a boost of nutrients.
* Pale green leaves: This can indicate an iron deficiency.
By carefully observing your plants, you can identify nutrient deficiencies early and address them with this DIY solution.
Is this DIY solution safe for organic gardening?
Yes, this DIY solution can be safe for organic gardening, provided that you use organic ingredients. Avoid using any ingredients that have been treated with synthetic pesticides or fertilizers. Look for organic versions of ingredients like Epsom salts and bone meal. Always check the labels of any ingredients you use to ensure they are certified organic. By using organic ingredients, you can create a nutrient-rich solution that is both effective and environmentally friendly.
Can I store leftover DIY solution?
Yes, you can store leftover DIY solution, but it’s best to use it within a week or two. Store it in a cool, dark place in a sealed container. Over time, the solution may lose some of its potency, so it’s best to use it as soon as possible. You may also notice some sediment settling at the bottom of the container, which is normal. Simply shake the container well before using the solution.
What if I don’t have all the ingredients listed in the recipe?
Don’t worry if you don’t have all the ingredients listed in the recipe. You can often substitute ingredients or omit them altogether without significantly affecting the effectiveness of the solution. For example, if you don’t have bone meal, you can use rock phosphate as a substitute. If you don’t have Epsom salts, you can skip it altogether, although it’s beneficial for preventing blossom end rot. The key is to understand the purpose of each ingredient and try to find a suitable alternative if necessary.
Can I use too much of this DIY solution?
Yes, it is possible to over-fertilize your tomato plants with this DIY solution. Over-fertilizing can lead to nutrient burn, which can damage or even kill your plants. Signs of over-fertilization include yellowing or browning leaf tips, stunted growth, and a buildup of salts in the soil. To avoid over-fertilizing, always follow the recommended application rates and monitor your plants closely for any signs of nutrient excess. If you suspect you’ve over-fertilized, flush the soil with plenty of water to remove excess nutrients.
How does this DIY solution compare to commercial fertilizers?
This DIY solution offers several advantages over commercial fertilizers. It’s more cost-effective, environmentally friendly, and allows you to customize the nutrient blend to meet the specific needs of your plants. Commercial fertilizers often contain synthetic chemicals that can harm the environment and disrupt the soil ecosystem. This DIY solution, on the other hand, uses natural ingredients that are gentle on the environment and promote healthy soil. However, commercial fertilizers can be more convenient and may contain a more precise balance of nutrients. Ultimately, the best choice depends on your individual needs and preferences.
What kind of results can I expect to see after using this DIY solution?
With consistent use of this DIY solution, you can expect to see a noticeable improvement in the health and productivity of your tomato plants. You may notice:
* Increased growth: Your plants will grow taller and bushier.
* Darker green leaves: This indicates that your plants are getting enough nitrogen.
* More abundant fruit production: You’ll harvest more tomatoes.
* Larger, more flavorful tomatoes: The fruits will be bigger and tastier.
* Improved resistance to diseases and pests: Healthy plants are better able to withstand diseases and pests.
Remember that results may vary depending on your soil conditions, climate, and the specific recipe you’re using. Be patient and consistent, and you’ll be rewarded with a bountiful harvest of delicious tomatoes.
Leave a Comment