
Unexpected Kitchen Fixes: We’ve all been there, haven’t we? You’re in the middle of cooking up a storm, and suddenly, disaster strikes! Maybe your drain is clogged, your garbage disposal is making a strange noise, or you’ve run out of your favorite cleaning solution. Don’t panic! Before you reach for the phone to call a pricey repairman, I’m going to share some clever and unexpected kitchen fixes using items you probably already have lurking in your pantry or bathroom cabinet.
For centuries, resourceful cooks and homemakers have relied on their ingenuity to solve common kitchen problems. Think about it – our grandmothers didn’t have access to the plethora of specialized products we do today. They used simple, natural ingredients like vinegar, baking soda, and lemon juice to keep their kitchens sparkling and functioning smoothly. These time-tested methods are not only effective but also eco-friendly and budget-conscious!
In today’s fast-paced world, who has time to deal with minor kitchen mishaps? These unexpected kitchen fixes are designed to save you time, money, and frustration. Imagine being able to unclog a drain in minutes with just baking soda and vinegar, or deodorize your garbage disposal with citrus peels. These simple hacks can prevent small problems from escalating into costly repairs, allowing you to spend more time enjoying your kitchen and less time stressing about it. So, let’s dive in and discover some amazing DIY solutions that will transform the way you handle kitchen emergencies!
Unexpected Kitchen Fixes: DIY Hacks to Save the Day
Okay, so your kitchen is the heart of your home, right? But sometimes, that heart skips a beat – or maybe throws a full-blown tantrum. Leaky faucets, stubborn stains, and sticky drawers… we’ve all been there. Instead of calling a professional for every little hiccup, let’s roll up our sleeves and tackle some common kitchen woes with these unexpected DIY fixes. Trust me, you’ll feel like a total kitchen superhero!
Unclogging a Slow Drain (Without Harsh Chemicals!)
We’ve all been there. The sink fills up while you’re washing dishes, and you’re left staring at a murky pool of water. Before you reach for the drain cleaner (which can be harsh and damaging to your pipes), try these gentler, more effective methods.
What you’ll need:
* Boiling water
* Baking soda
* White vinegar
* Plunger (a good old-fashioned one!)
* Optional: Drain snake or bent wire hanger
Step-by-step instructions:
1. Clear the area: Remove any standing water from the sink. You might need a cup or small container to scoop it out.
2. The Baking Soda & Vinegar Volcano: Pour about 1 cup of baking soda down the drain. Follow this with 1 cup of white vinegar. You’ll see some fizzing – that’s the magic happening! Let this mixture sit for about 30 minutes. This dynamic duo works to break down grease and grime.
3. Flush with Boiling Water: After the 30 minutes, carefully pour a kettle full of boiling water down the drain. The hot water helps to dissolve any remaining debris.
4. Plunge Away: If the drain is still slow, it’s time to bring out the plunger. Make sure there’s enough water in the sink to cover the cup of the plunger. Create a tight seal around the drain opening and plunge vigorously up and down for several minutes.
5. Repeat if Necessary: If the drain is still being stubborn, repeat steps 2-4. Sometimes it takes a couple of tries to dislodge a particularly nasty clog.
6. The Drain Snake Savior: If all else fails, it’s time to get a little more hands-on. Use a drain snake (you can find these at most hardware stores) or a bent wire hanger to try and break up or pull out the clog. Be careful not to damage your pipes! Gently insert the snake or hanger into the drain and twist and turn it until you feel resistance. Try to break up the clog or hook it and pull it out.
7. Final Flush: Once you’ve cleared the clog, flush the drain with hot water to make sure everything is flowing smoothly.
Removing Stubborn Stains from Countertops
Countertops take a beating, especially in a busy kitchen. From coffee spills to tomato sauce splatters, they’re constantly under attack. Here’s how to tackle some common countertop stains, depending on the material.
Granite Countertops
Granite is beautiful and durable, but it’s also porous, which means it can stain if spills aren’t cleaned up quickly.
What you’ll need:
* Baking soda
* Water
* Plastic wrap
* Soft cloth
Step-by-step instructions:
1. Make a Paste: Mix baking soda with water to create a thick paste.
2. Apply the Paste: Apply the paste generously to the stained area.
3. Cover and Wait: Cover the paste with plastic wrap and let it sit for 24-48 hours. This allows the baking soda to draw out the stain.
4. Wipe Clean: Remove the plastic wrap and wipe away the paste with a damp cloth.
5. Repeat if Necessary: If the stain is still visible, repeat the process.
Laminate Countertops
Laminate is more affordable than granite, but it’s also more susceptible to staining.
What you’ll need:
* Baking soda
* Water
* Soft cloth
* Optional: Mild dish soap
Step-by-step instructions:
1. Gentle Cleaning: Start by trying to clean the stain with a soft cloth and a mixture of mild dish soap and water.
2. Baking Soda Power: If the stain persists, make a paste of baking soda and water.
3. Apply and Scrub Gently: Apply the paste to the stain and gently scrub with a soft cloth. Avoid using abrasive cleaners or scrub brushes, as they can scratch the laminate.
4. Rinse and Dry: Rinse the area with clean water and dry with a soft cloth.
Butcher Block Countertops
Butcher block adds warmth and character to a kitchen, but it requires special care.
What you’ll need:
* Lemon
* Coarse salt
* Mineral oil
* Clean cloths
Step-by-step instructions:
1. Salt Scrub: Sprinkle coarse salt generously over the stained area.
2. Lemon Power: Cut a lemon in half and use it to scrub the salt into the stain. The lemon’s acidity helps to lift the stain, while the salt acts as a gentle abrasive.
3. Rinse and Dry: Rinse the area with clean water and dry thoroughly.
4. Oil Treatment: Apply a generous amount of mineral oil to the butcher block to rehydrate the wood and protect it from future stains. Let the oil soak in for several hours or overnight, then wipe away any excess.
Fixing Sticky Drawers and Cabinets
Sticky drawers and cabinets are a common kitchen annoyance. They can be caused by humidity, dirt, or simply wear and tear. Here’s how to get them gliding smoothly again.
What you’ll need:
* Screwdriver
* Sandpaper (fine-grit)
* Paraffin wax, beeswax, or drawer glide lubricant
* Clean cloth
Step-by-step instructions:
1. Empty the Drawer: Remove everything from the drawer to make it lighter and easier to work with.
2. Inspect the Slides: Carefully examine the drawer slides (the metal or wooden tracks that the drawer slides on). Look for any obvious obstructions, such as dirt, debris, or loose screws.
3. Tighten Loose Screws: If you find any loose screws, tighten them with a screwdriver. This can often solve the problem.
4. Sand Rough Spots: If the drawer slides are rough or splintered, use fine-grit sandpaper to smooth them out. Be careful not to sand too much, as this can make the drawer too loose.
5. Lubricate the Slides: Apply a lubricant to the drawer slides. Paraffin wax, beeswax, or a drawer glide lubricant all work well. Simply rub the lubricant along the slides, both on the drawer and in the cabinet.
6. Test the Drawer: Slide the drawer back into the cabinet and test it to see if it’s moving more smoothly. If it’s still sticky, repeat steps 4 and 5.
7. Cabinet Door Adjustment: For sticky cabinet doors, the hinges are often the culprit. Inspect the hinges for loose screws and tighten them. If the door is still sticking, you may need to adjust the hinges slightly. Most hinges have adjustment screws that allow you to move the door up, down, left, or right. Experiment with these screws until the door closes smoothly.
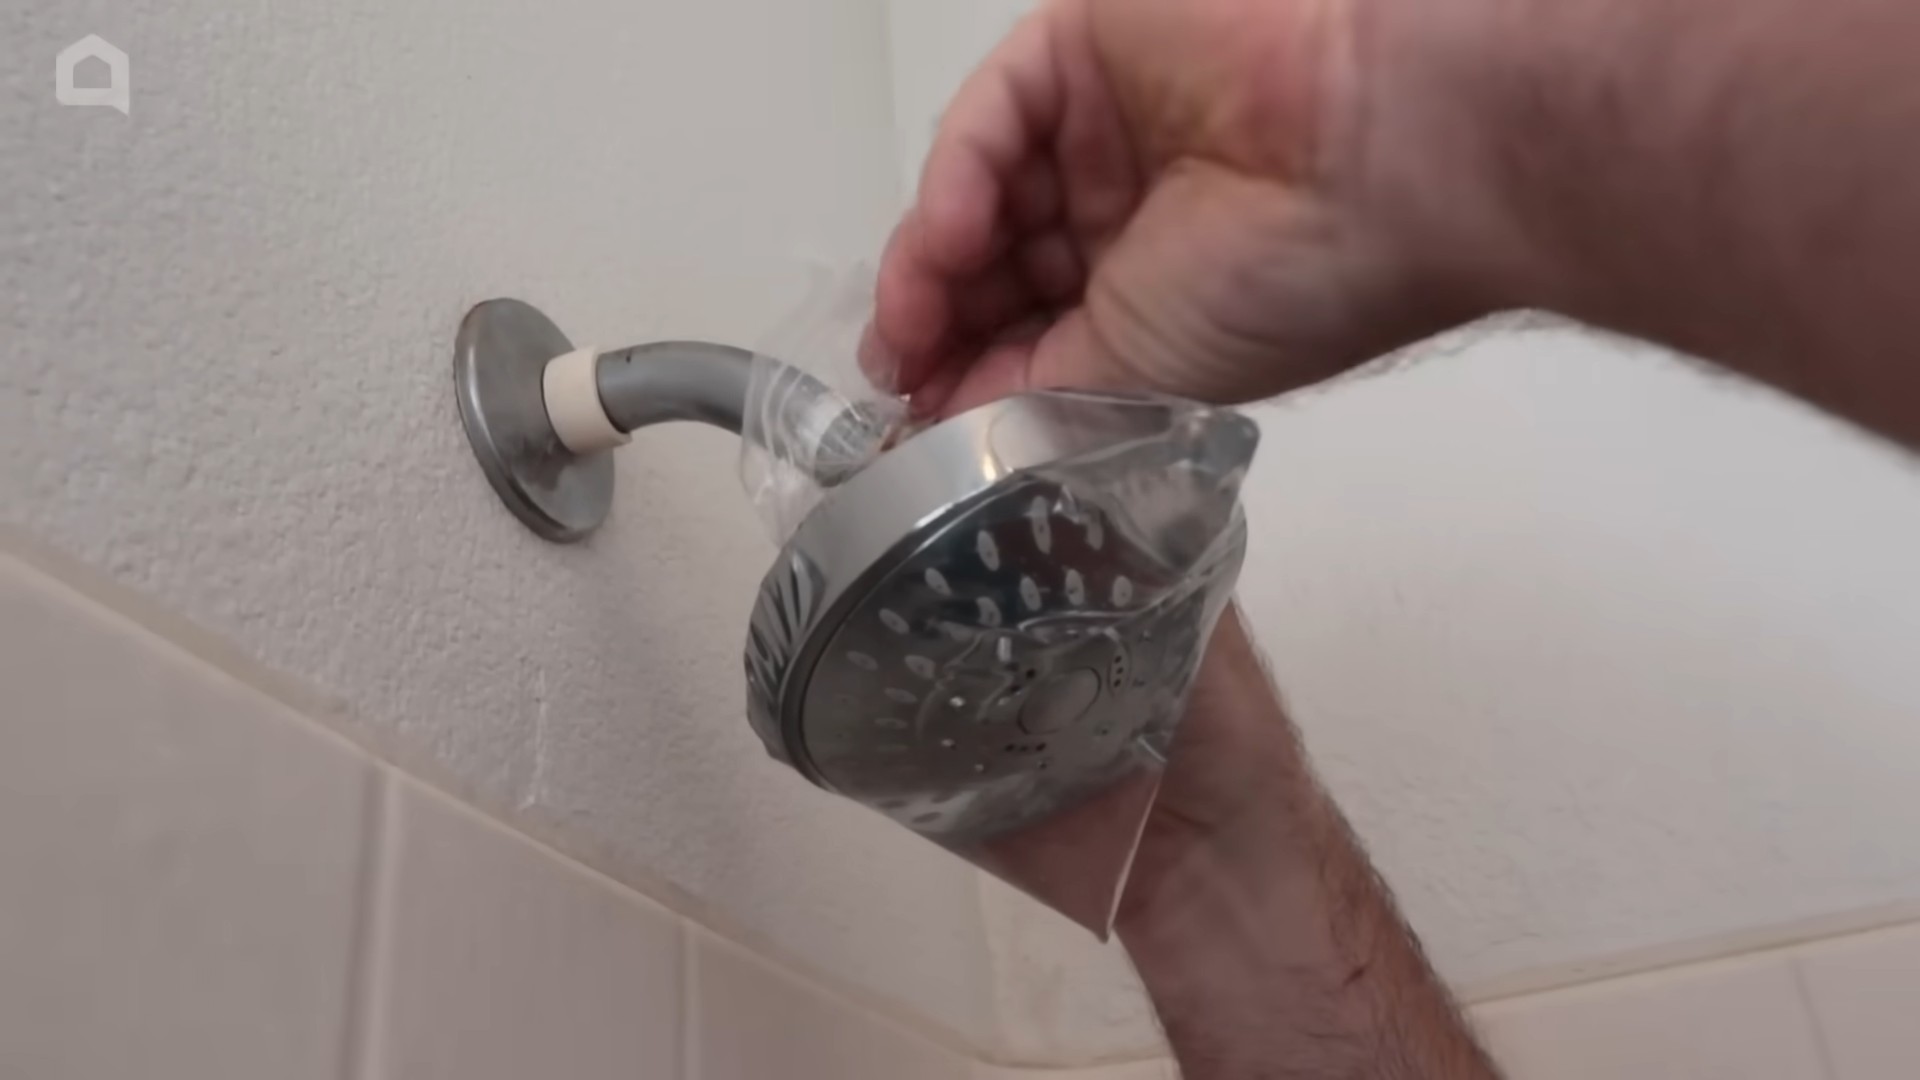
Reviving Dull Stainless Steel Appliances
Stainless steel appliances look sleek and modern, but they can quickly become covered in fingerprints, smudges, and water spots. Here’s how to keep them looking their best.
What you’ll need:
* White vinegar
* Olive oil
* Soft cloths (microfiber cloths work best)
Step-by-step instructions:
1. Vinegar Cleaning: Fill a spray bottle with white vinegar. Spray the vinegar onto the stainless steel surface and wipe it down with a soft cloth. The vinegar will help to remove fingerprints, smudges, and water spots. Always wipe *with* the grain of the stainless steel to avoid streaks.
2. Olive Oil Polish: Pour a small amount of olive oil onto a clean, dry cloth. Buff the stainless steel surface with the olive oil, again wiping with the grain. The olive oil will help to polish the surface and protect it from future smudges.
3. Buff to Shine: Use a clean, dry cloth to buff the stainless steel surface until it shines.
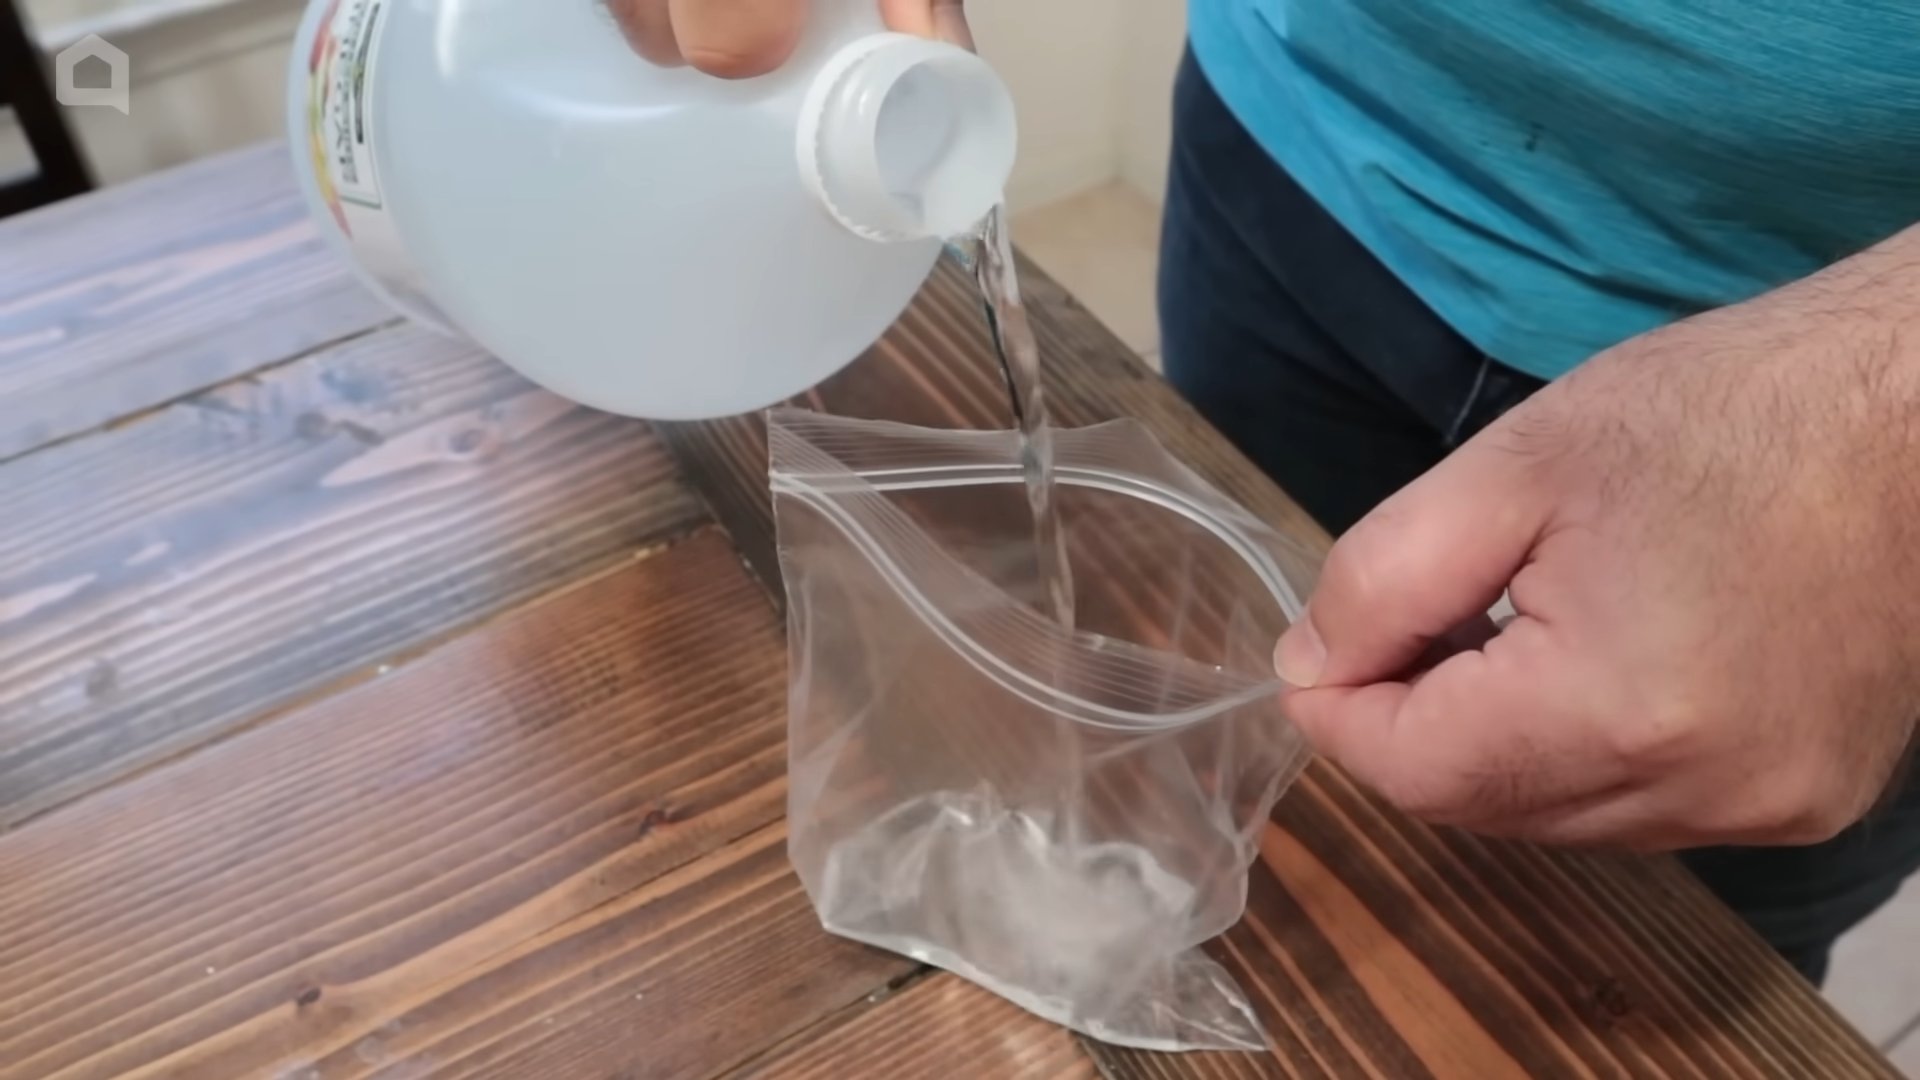
Dealing with a Smelly Garbage Disposal
A smelly garbage disposal is never a pleasant experience. Here’s how to freshen it up and get rid of those unpleasant odors.
What you’ll need:
* Ice cubes
* Lemon or lime wedges
* Baking soda
* White vinegar
Step-by-step instructions:
1.
Conclusion
So, there you have it! These unexpected kitchen fixes aren’t just about saving money; they’re about empowering you to take control of your kitchen and your cooking experience. From rescuing scorched pots with baking soda to reviving stale bread with a simple water trick, these solutions are designed to be quick, effective, and, most importantly, accessible to everyone.
But the real star of the show, the one kitchen fix you absolutely *must* try, is undoubtedly the DIY solution for sharpening your knives using a ceramic mug. A dull knife is a dangerous knife, and constantly buying new ones or relying on expensive sharpening services is simply not sustainable. This method is not only incredibly easy – requiring only a mug you already own – but it also delivers surprisingly professional results. Imagine effortlessly slicing through tomatoes, dicing onions without tears, and prepping your ingredients with newfound precision. That’s the power of a sharp knife, and this DIY trick puts that power directly into your hands.
Don’t be afraid to experiment with variations, too! For instance, if you find that the bottom of your ceramic mug isn’t quite doing the trick, try using the unglazed ring on the bottom of a ceramic plate. The principle is the same – using the rough, unglazed ceramic to hone the blade – but the larger surface area might be more comfortable for some knives. Another variation is to use a honing steel after using the mug to further refine the edge. This will help to maintain the sharpness of your knives for longer.
Beyond knife sharpening, remember the other fixes we’ve discussed. A clogged drain can be tackled with baking soda and vinegar, a burnt pan can be salvaged with patience and a little elbow grease, and even the most stubborn food stains can be lifted with the right combination of household ingredients. These are all valuable tools in your kitchen arsenal, ready to be deployed whenever unexpected challenges arise.
We truly believe that these unexpected kitchen fixes can transform your cooking experience. They’re not just about solving problems; they’re about fostering a deeper connection with your kitchen and empowering you to be a more resourceful and confident cook. So, go ahead, give these tricks a try! We’re confident that you’ll be amazed by the results.
And most importantly, we want to hear about your experiences! Did the ceramic mug trick work wonders for your knives? Did you discover a new variation that we haven’t mentioned? Share your stories, tips, and photos in the comments below. Let’s build a community of resourceful cooks who are always ready to tackle any kitchen challenge that comes their way. Your feedback is invaluable, and it helps us to continue providing you with the best possible tips and tricks for making your kitchen a happier, more efficient place. Embrace these unexpected kitchen fixes and unlock a new level of culinary confidence!
Frequently Asked Questions
Q: How often should I sharpen my knives using the ceramic mug trick?
A: The frequency depends on how often you use your knives. For knives used daily, sharpening every 2-3 weeks is a good starting point. If you only use certain knives occasionally, you might only need to sharpen them every few months. Pay attention to how your knives are performing. If they start to feel dull or require more force to cut, it’s time for a sharpening session. Remember, regular honing with a steel is also important for maintaining the edge between sharpenings.
Q: What kind of ceramic mug works best for sharpening knives?
A: The ideal mug is one with an unglazed ceramic ring on the bottom. This unglazed surface is what provides the necessary abrasion to sharpen the blade. Avoid mugs with glazed bottoms, as they won’t be effective. Also, make sure the mug is stable and won’t slip while you’re sharpening. A heavier mug is generally better.
Q: Can I use this trick on all types of knives?
A: This trick works best on knives with a relatively straight edge. Serrated knives require specialized sharpening tools and techniques. It’s also not recommended for very delicate or high-end knives, as there’s a slight risk of damaging the blade if you’re not careful. For those knives, professional sharpening is always the safest option.
Q: What is the proper angle to hold the knife when sharpening it on the mug?
A: The ideal angle is typically between 15 and 20 degrees. This is a relatively shallow angle. Imagine slicing a very thin layer off the ceramic. It’s better to err on the side of a shallower angle than a steeper one. Practice makes perfect, so don’t be discouraged if it takes a few tries to get the hang of it.
Q: How do I know if I’m sharpening the knife correctly?
A: You should feel a slight resistance as you draw the blade across the ceramic. If you’re not feeling any resistance, you might not be applying enough pressure or the angle might be incorrect. After a few strokes, carefully test the sharpness of the knife on a piece of paper. If it slices cleanly through the paper, you’re on the right track. If it tears or catches, continue sharpening.
Q: Is there a risk of damaging my knife using this method?
A: There is a slight risk, especially if you’re not careful or if you’re using too much pressure. That’s why it’s important to start slowly and use a consistent angle. Avoid applying excessive force, as this can damage the blade. If you’re unsure, practice on an older, less valuable knife first.
Q: What other unexpected kitchen fixes are worth knowing?
A: Beyond knife sharpening, consider these:
* **Reviving Stale Bread:** Sprinkle the bread with water and bake it in a preheated oven for a few minutes. The moisture will rehydrate the bread and make it soft again.
* **Cleaning a Burnt Pot:** Cover the burnt area with baking soda and water, bring to a boil, and simmer for a few minutes. The burnt food should loosen and be easier to scrub away.
* **Unclogging a Drain:** Pour baking soda down the drain, followed by vinegar. Let it fizz for 30 minutes, then flush with hot water.
* **Removing Food Stains:** Make a paste of baking soda and water and apply it to the stain. Let it sit for a few minutes, then scrub gently.
Q: Where can I learn more about knife sharpening techniques?
A: There are many resources available online, including videos and articles that demonstrate different knife sharpening techniques. Look for tutorials that specifically address sharpening with a ceramic mug or honing steel. Practicing with an experienced cook or chef is also a great way to learn.
Q: What are the benefits of using these unexpected kitchen fixes?
A: The benefits are numerous! You’ll save money by avoiding costly replacements or professional services. You’ll reduce waste by extending the life of your kitchen tools and ingredients. You’ll become more resourceful and self-sufficient in the kitchen. And, perhaps most importantly, you’ll gain a deeper appreciation for the simple solutions that can make your cooking experience more enjoyable and efficient. These unexpected kitchen fixes are a win-win for everyone!


Leave a Comment