
Vinegar cleaner DIY recipe: Unlock the secrets to a sparkling clean home with a time-tested, eco-friendly solution! For generations, vinegar has been a staple in households, not just for cooking, but as a powerful and versatile cleaning agent. Think back to your grandmother’s cleaning rituals – chances are, vinegar played a starring role. Its natural disinfecting properties and ability to cut through grease and grime have made it a go-to cleaner for centuries.
But why should you ditch those expensive, chemical-laden cleaners and embrace the power of a vinegar cleaner DIY recipe? Well, for starters, it’s incredibly cost-effective! You’ll save a bundle by creating your own cleaning solutions with ingredients you likely already have in your pantry. More importantly, you’ll be reducing your exposure to harsh chemicals that can be harmful to your health and the environment. I know I feel better knowing exactly what I’m using to clean my home, especially with pets and little ones around.
This article will guide you through simple, yet effective, vinegar cleaner DIY recipes for every corner of your home. From tackling stubborn bathroom stains to achieving streak-free windows, we’ll show you how to harness the cleaning power of vinegar and create a healthier, happier home. Get ready to say goodbye to harsh chemicals and hello to a naturally clean space!

DIY All-Purpose Vinegar Cleaner: Your Guide to a Sparkling Home
Hey there, fellow DIY enthusiasts! I’m so excited to share my go-to recipe for an all-purpose vinegar cleaner. It’s incredibly effective, super affordable, and eco-friendly – a win-win-win! Forget those harsh chemicals and expensive store-bought cleaners. This simple solution will leave your home sparkling clean and smelling fresh (yes, even with vinegar!).
Why Vinegar?
Vinegar, specifically white distilled vinegar, is a natural cleaning powerhouse. Its acidity helps to dissolve grime, grease, and hard water stains. Plus, it’s a natural disinfectant, killing many common household bacteria and viruses. It’s truly a versatile cleaning agent!
What You’ll Need
Before we dive in, let’s gather our supplies. This is a pretty straightforward recipe, so you probably already have most of these items on hand.
* White Distilled Vinegar
* Water (distilled or tap is fine)
* Essential Oils (optional, but highly recommended for a pleasant scent) – I love lemon, lavender, tea tree, or eucalyptus.
* Spray Bottle (a clean, empty one, of course!)
* Measuring Cup or Spoons
* Funnel (optional, but helpful for pouring)
* Microfiber Cloths (for wiping surfaces)
The Basic Recipe: Vinegar and Water
This is the foundation of our all-purpose cleaner. The ratio of vinegar to water is crucial for effectiveness and to avoid that overpowering vinegar smell.
* Ratio: 1:1 (equal parts vinegar and water)
Step-by-Step Instructions: Creating Your All-Purpose Cleaner
Alright, let’s get started! This process is so simple, you’ll be amazed.
1. Prepare Your Spray Bottle: Make sure your spray bottle is clean and dry. Any residue from previous cleaners could react with the vinegar.
2. Measure the Vinegar: Using your measuring cup, pour equal parts white distilled vinegar into the spray bottle. For example, if your spray bottle holds 16 ounces, pour in 8 ounces of vinegar.
3. Add the Water: Now, add an equal amount of water to the spray bottle. In our example, you’d add 8 ounces of water.
4. Essential Oil Time (Optional): This is where you can customize your cleaner and get rid of that strong vinegar scent. Add 10-20 drops of your favorite essential oil(s). I usually go for lemon for its fresh, clean scent and antibacterial properties. Lavender is also great for a calming aroma. Tea tree oil is a powerful disinfectant, and eucalyptus is perfect for cleaning bathrooms.
5. Mix it Up: Secure the spray nozzle onto the bottle and gently shake to combine the vinegar, water, and essential oils.
6. Label Your Bottle: This is important! Clearly label your spray bottle as “Vinegar Cleaner” to avoid any confusion.
Using Your All-Purpose Vinegar Cleaner
Now that you’ve created your amazing all-purpose cleaner, let’s put it to work!
* Spray and Wipe: Simply spray the cleaner onto the surface you want to clean and wipe it down with a microfiber cloth.
* Let it Sit (for tough stains): For stubborn stains or grime, let the cleaner sit on the surface for a few minutes before wiping.
* Rinse (if needed): On some surfaces, you might want to rinse with water after cleaning, especially if you’ve used a lot of cleaner.
Where to Use Your Vinegar Cleaner
This cleaner is incredibly versatile and can be used on a variety of surfaces. Here are some of my favorite uses:
* Kitchen Counters: Perfect for wiping down countertops after cooking.
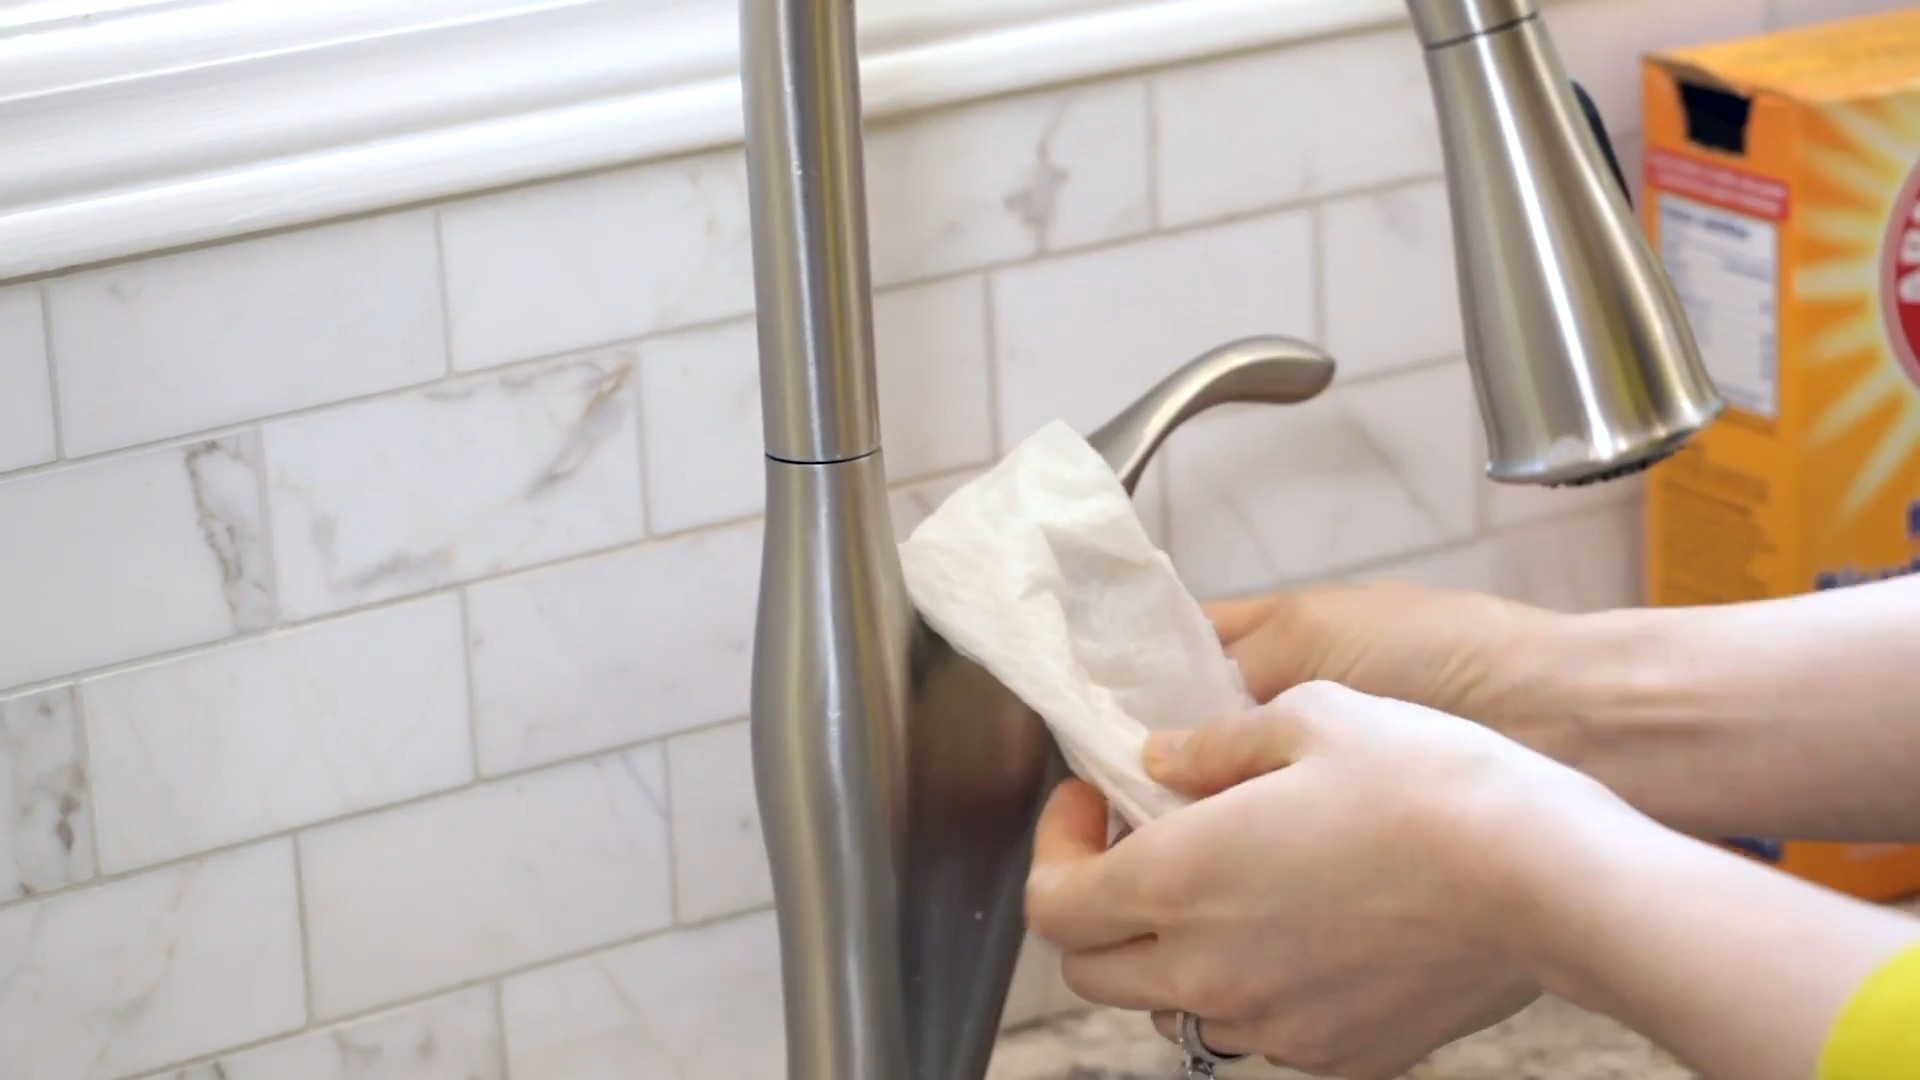
* Sinks and Faucets: Removes water spots and leaves them sparkling.
* Bathroom Surfaces: Cleans tiles, shower doors, and toilets (but avoid using it on natural stone like marble or granite).
* Mirrors and Windows: Creates a streak-free shine.
* Floors (sealed surfaces only): Add a cup of vinegar cleaner to a bucket of water for mopping.
* Appliances: Cleans the exterior of refrigerators, ovens, and dishwashers.
* Cutting Boards: Disinfects and removes odors.
Surfaces to Avoid
While vinegar is a fantastic cleaner, it’s not suitable for all surfaces. Avoid using it on:
* Natural Stone (Marble, Granite, etc.): The acidity can etch and damage these surfaces.
* Waxed Furniture: It can strip the wax finish.
* Electronics Screens: Use a specialized screen cleaner instead.
* Unsealed Grout: The vinegar can penetrate and damage the grout.
Troubleshooting and Tips
* Vinegar Smell: Don’t worry, the vinegar smell dissipates quickly. Adding essential oils helps to mask the odor.
* Cloudy Cleaner: If your cleaner looks cloudy, it’s likely due to hard water. Using distilled water can prevent this.
* Stubborn Stains: For tough stains, try making a paste of baking soda and vinegar. Apply the paste to the stain, let it sit for a few minutes, and then scrub.
* Test in an Inconspicuous Area: Before cleaning an entire surface, always test the cleaner in a small, hidden area to ensure it doesn’t damage the material.
* Storage: Store your vinegar cleaner in a cool, dark place. It should last for several months.
Boosting Your Vinegar Cleaner: Advanced Recipes
Want to take your vinegar cleaner to the next level? Here are a few variations you can try:
Lemon-Infused Vinegar Cleaner
This adds extra cleaning power and a lovely citrus scent.
1. Gather Lemon Peels: Save the peels from lemons you use for cooking or drinks.
2. Infuse the Vinegar: Place the lemon peels in a jar and cover them with white distilled vinegar.
3. Let it Sit: Seal the jar and let it sit for 1-2 weeks, shaking it occasionally.
4. Strain the Vinegar: Strain the vinegar to remove the lemon peels.
5. Dilute and Use: Dilute the lemon-infused vinegar with water in a 1:1 ratio and use it as your all-purpose cleaner.
Herbal Vinegar Cleaner
Infuse your vinegar with herbs for a unique scent and added benefits.
1. Choose Your Herbs: Rosemary, lavender, thyme, and mint are all great options.
2. Infuse the Vinegar: Place the herbs in a jar and cover them with white distilled vinegar.
3. Let it Sit: Seal the jar and let it sit for 2-3 weeks, shaking it occasionally.
4. Strain the Vinegar: Strain the vinegar to remove the herbs.
5. Dilute and Use: Dilute the herb-infused vinegar with water in a 1:1 ratio and use it as your all-purpose cleaner.
Vinegar and Baking Soda Paste for Tough Stains
This is my secret weapon for tackling stubborn stains in the kitchen and bathroom.
1. Mix the Ingredients: In a small bowl, mix together baking soda and vinegar to form a paste. The mixture will fizz, so use a bowl that’s large enough to contain the reaction.
2. Apply the Paste: Apply the paste to the stain and let it sit for 15-20 minutes.
3. Scrub and Rinse: Scrub the area with a sponge or brush and then rinse with water.
Safety First!
While vinegar is a natural cleaner, it’s still important to take some safety precautions:
* Avoid Mixing with Bleach: Never mix vinegar with bleach, as this can create toxic chlorine gas.
* Keep Out of Reach of Children and Pets: Although it’s a natural cleaner, it’s still important to keep it out of reach of children and pets.
* Wear Gloves (Optional): If you have sensitive skin, you may want to wear gloves when using vinegar cleaner.
* Ventilation: Ensure good ventilation when cleaning with vinegar, especially in enclosed spaces.
Why I Love This DIY Cleaner
I’ve been using this DIY vinegar cleaner for years, and I can honestly say it’s one of the best cleaning solutions I’ve ever used. It’s effective, affordable, eco-friendly, and easy to make. Plus, I love that I can customize it with my favorite essential oils.
I hope you enjoy this recipe as much as I do! Happy cleaning!
Conclusion
So, there you have it! This simple yet incredibly effective vinegar cleaner DIY recipe is more than just a cost-saving measure; it’s a step towards a healthier home and a more sustainable lifestyle. We’ve walked you through the process, highlighting its ease and versatility, and hopefully, dispelled any lingering doubts about its cleaning power.
Why is this a must-try? Because it’s a powerhouse cleaner that tackles grime, grease, and odors without the harsh chemicals found in many commercial products. It’s safe for your family, your pets, and the environment. Plus, let’s be honest, who doesn’t love saving money? This DIY cleaner is incredibly budget-friendly, using ingredients you likely already have in your pantry.
But the beauty of this recipe lies in its adaptability. Feel free to experiment with different essential oils to create your signature scent. Lavender, lemon, tea tree, and eucalyptus are all excellent choices, each offering its own unique aroma and added benefits. For tougher stains, consider adding a tablespoon of baking soda to your spray bottle for an extra boost of cleaning power. You can also infuse your vinegar with citrus peels for a few weeks before mixing it with water for a naturally scented and even more potent cleaner.
Don’t be afraid to get creative! This vinegar cleaner DIY recipe is a blank canvas for your cleaning needs.
We truly believe that once you try this DIY cleaner, you’ll be amazed by its effectiveness and simplicity. It’s a game-changer for anyone looking to reduce their reliance on harsh chemicals and embrace a more natural approach to cleaning.
So, what are you waiting for? Gather your ingredients, mix up a batch, and experience the difference for yourself. We’re confident that you’ll be thrilled with the results.
And most importantly, we want to hear about your experience! Share your tips, variations, and success stories in the comments below. Let us know what essential oil combinations you’ve tried, what surfaces you’ve cleaned, and any other insights you have to offer. Together, we can build a community of DIY cleaning enthusiasts and share the benefits of this amazing vinegar cleaner DIY recipe. Let’s ditch the chemicals and embrace the power of natural cleaning!
Frequently Asked Questions (FAQs)
Is vinegar cleaner safe to use on all surfaces?
While vinegar cleaner is a fantastic all-purpose cleaner, it’s essential to be aware of surfaces where it should be avoided. Never use vinegar cleaner on natural stone surfaces like marble, granite, or travertine. The acidity in vinegar can etch and damage these materials, leading to discoloration and a dull appearance. Similarly, avoid using it on waxed furniture, as it can strip the wax finish. It’s also best to avoid using vinegar cleaner on electronics screens, as the moisture can damage the internal components. When in doubt, always test the cleaner on a small, inconspicuous area first to ensure it doesn’t cause any adverse reactions. For delicate surfaces, consider diluting the vinegar solution further or opting for a different cleaning method altogether.
What type of vinegar is best for cleaning?
The best type of vinegar for cleaning is plain white distilled vinegar. It has a higher acidity level than other types of vinegar, making it more effective at cutting through grease, grime, and mildew. Avoid using flavored vinegars, such as apple cider vinegar or balsamic vinegar, as they may contain sugars or other additives that can leave a sticky residue on surfaces. White distilled vinegar is readily available, inexpensive, and a reliable choice for all your cleaning needs. Its clear color also prevents staining on light-colored surfaces.
How long does vinegar cleaner last?
One of the great things about vinegar cleaner is its long shelf life. When stored properly in a cool, dark place, a homemade vinegar cleaner solution can last indefinitely. However, the scent of any added essential oils may fade over time. To ensure optimal freshness and fragrance, it’s generally recommended to use the cleaner within 3-6 months. If you notice any changes in color, odor, or consistency, it’s best to discard the solution and make a fresh batch. Always label your spray bottle with the date you made the cleaner to keep track of its age.
Can I use vinegar cleaner to disinfect?
While vinegar cleaner has some antimicrobial properties, it’s not a substitute for a disinfectant. Vinegar is effective at killing some types of bacteria and viruses, but it’s not as potent as commercial disinfectants that are specifically formulated to eliminate a broader range of pathogens. If you’re looking to disinfect surfaces, especially in areas prone to germs like bathrooms and kitchens, it’s best to use a registered disinfectant cleaner. However, vinegar cleaner can still be a valuable tool for general cleaning and sanitizing, helping to reduce the overall microbial load on surfaces.
What essential oils work best in vinegar cleaner?
The choice of essential oils for your vinegar cleaner is largely a matter of personal preference, but some oils are particularly well-suited for cleaning due to their antimicrobial and deodorizing properties. Lemon essential oil is a popular choice for its fresh, citrusy scent and its ability to cut through grease. Lavender essential oil offers a calming aroma and has antibacterial properties. Tea tree oil is a powerful antiseptic and antifungal agent, making it ideal for cleaning bathrooms and other areas prone to mold and mildew. Eucalyptus essential oil has a refreshing scent and can help to disinfect surfaces. Other great options include peppermint, orange, grapefruit, and rosemary essential oils. Experiment with different combinations to find your favorite scent and cleaning power.
My vinegar cleaner smells too strong. How can I reduce the vinegar smell?
The strong smell of vinegar is a common concern for many people. Fortunately, there are several ways to minimize the odor. First, ensure that you’re using the correct dilution ratio of vinegar to water. A 1:1 ratio is generally effective for most cleaning tasks, but you can dilute it further if the smell is too overpowering. Adding essential oils can also help to mask the vinegar scent. Citrus oils, in particular, are effective at neutralizing the odor. Another trick is to let the cleaned surface air dry completely. The vinegar smell will dissipate as it dries. You can also try infusing your vinegar with citrus peels or herbs for a few weeks before mixing it with water. This will impart a more pleasant scent to the cleaner. Finally, ensure proper ventilation while cleaning to help disperse the vinegar smell.
Can I use vinegar cleaner on wood floors?
Using vinegar cleaner on wood floors is a topic of debate. While some people swear by it, others advise against it. The acidity in vinegar can potentially damage the finish on wood floors, especially if they are waxed or have a polyurethane coating. If you choose to use vinegar cleaner on wood floors, it’s crucial to dilute it significantly. A ratio of 1/4 cup of vinegar to 1 gallon of water is generally considered safe. Always test the cleaner on a small, inconspicuous area first to ensure it doesn’t cause any discoloration or damage. Avoid using vinegar cleaner on unsealed or unfinished wood floors. For best results, consider using a cleaner specifically designed for wood floors.
Can I mix vinegar cleaner with other cleaning products?
Never mix vinegar cleaner with bleach. This combination creates toxic chlorine gas, which can be extremely harmful and even fatal. Mixing vinegar with other cleaning products, such as ammonia, can also produce dangerous fumes. It’s always best to use vinegar cleaner on its own or with water and essential oils. If you’re unsure about the compatibility of vinegar with another cleaning product, err on the side of caution and avoid mixing them.
Leave a Comment