
WD-40 rust removal tools: Are your trusty garden tools looking a little worse for wear? Covered in rust and not performing like they used to? Don’t despair! Before you rush out to buy replacements, I’m here to share a game-changing DIY trick that will breathe new life into your rusty companions.
For generations, gardeners have battled the relentless foe of rust, a silent destroyer that slowly eats away at our precious tools. From humble hand trowels to essential pruning shears, rust can render even the most well-loved implements useless. But what if I told you there’s a simple, readily available solution that can effectively combat this corrosion?
This isn’t just about saving money (though that’s a definite perk!). It’s about preserving the tools that help us connect with nature, cultivate our gardens, and grow our own food. WD-40 rust removal tools is a simple and effective method that will help you maintain your tools and extend their lifespan. In this article, I’ll walk you through a step-by-step guide on how to use WD-40 to banish rust and restore your tools to their former glory. Get ready to rediscover the joy of gardening with tools that perform like new!
DIY Rust Removal with WD-40: A Comprehensive Guide
Hey everyone! Rust can be a real pain, turning your favorite tools and metal objects into unsightly, unusable messes. But don’t despair! Before you toss anything out, let me share my go-to method for tackling rust using the trusty WD-40. It’s a simple, effective, and relatively inexpensive way to breathe new life into your rusty treasures.
What You’ll Need
Before we dive in, let’s gather our supplies. Here’s what I always have on hand when battling rust with WD-40:
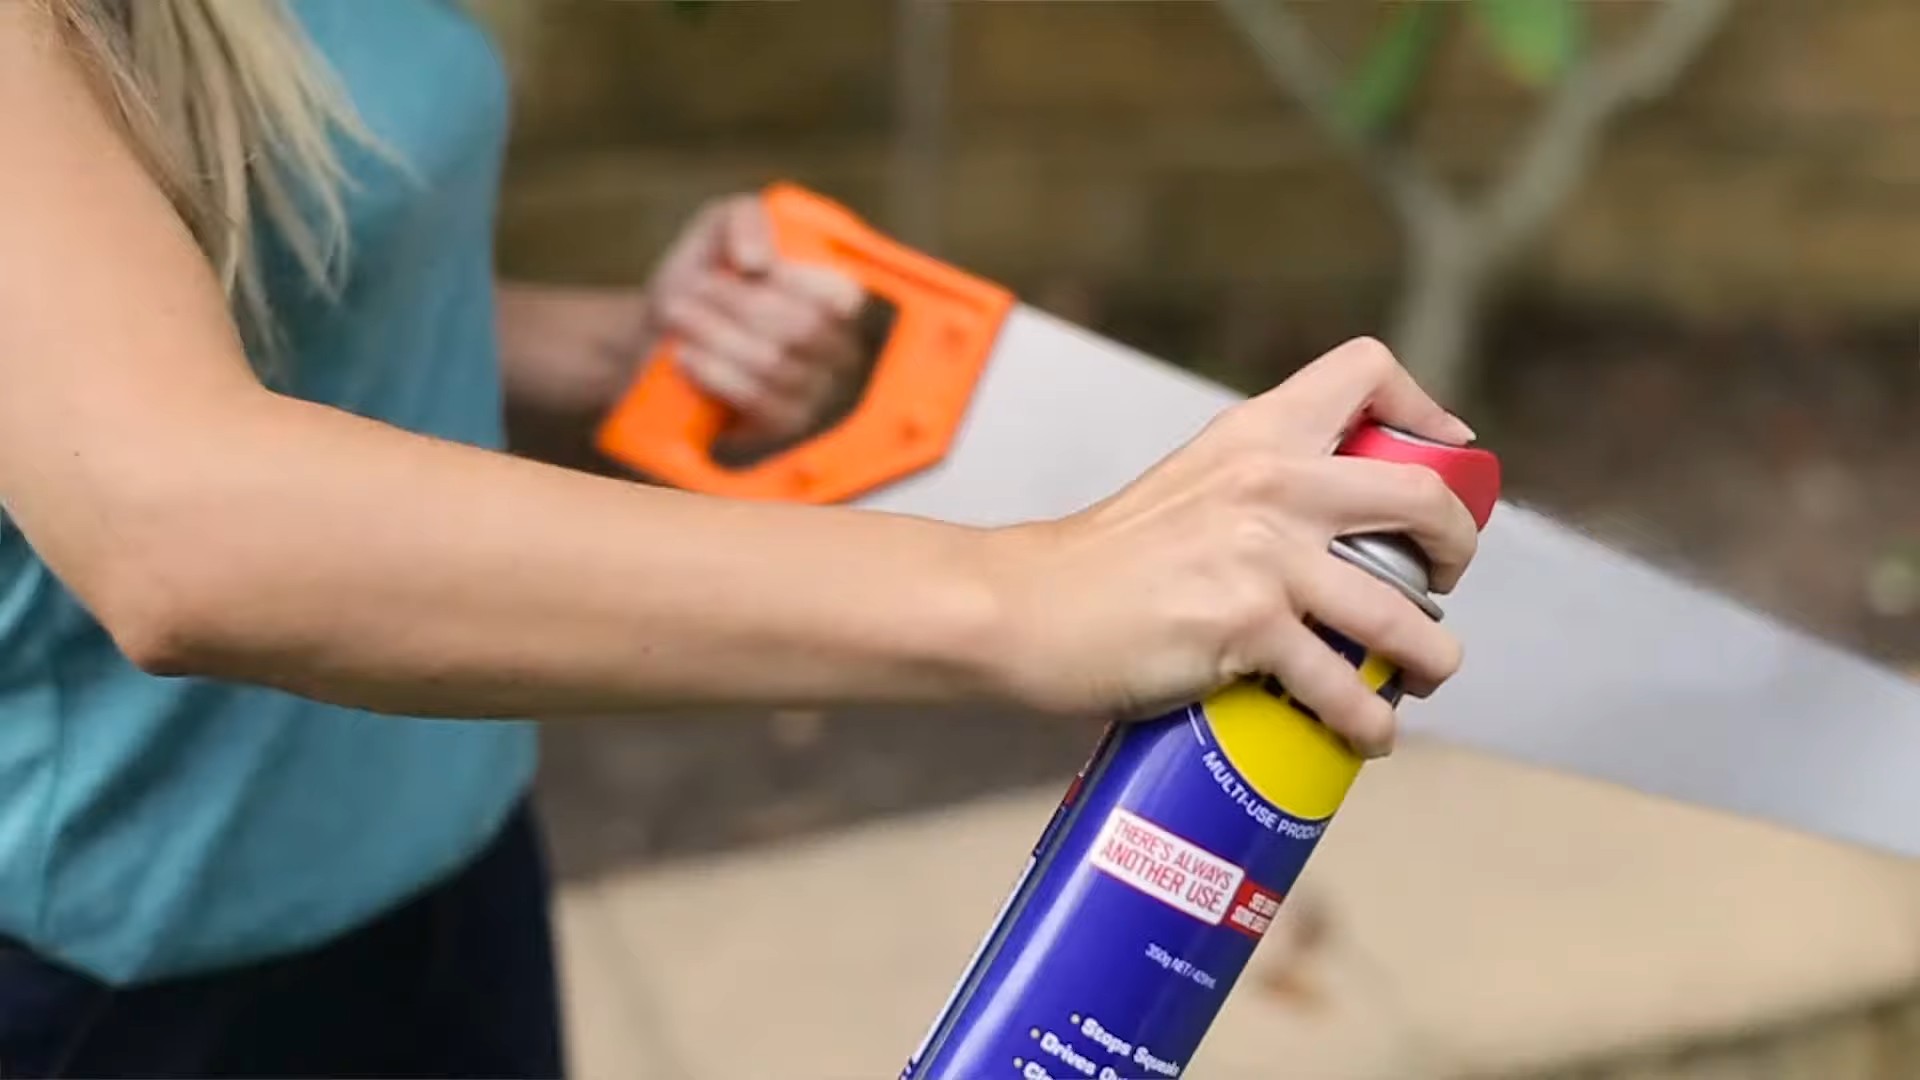
* **WD-40:** Obviously! Make sure you have a can of the original formula.
* **Wire Brush:** A sturdy wire brush is essential for scrubbing away loose rust. I recommend having a few different sizes and shapes to reach those tricky spots.
* **Sandpaper:** Various grits of sandpaper (coarse, medium, and fine) will help smooth out the surface after removing the bulk of the rust. I usually start with 80-grit for heavy rust and work my way up to 400-grit for a smooth finish.
* **Rags or Paper Towels:** For wiping away excess WD-40 and rust debris. Microfiber cloths work great too!
* **Safety Glasses:** Protecting your eyes is crucial when working with rust and chemicals.
* **Gloves:** To keep your hands clean and protected from rust and WD-40. Nitrile gloves are my personal favorite.
* **Optional: Rust Converter/Primer:** If you want to prevent future rust, consider using a rust converter or primer after cleaning.
* **Optional: Steel Wool:** For polishing and removing stubborn rust spots.
* **Optional: Container:** A container to soak smaller items in WD-40.
Safety First!
Before we get started, let’s talk safety. Rust removal can be a messy and potentially hazardous process, so it’s important to take precautions:
* Always wear safety glasses to protect your eyes from flying debris.
* Wear gloves to protect your hands from rust and WD-40.
* Work in a well-ventilated area to avoid inhaling WD-40 fumes.
* If you’re using power tools, follow the manufacturer’s safety instructions carefully.
Step-by-Step Rust Removal Process
Okay, let’s get down to business! Here’s my step-by-step guide to removing rust with WD-40:
1. **Prepare the Rusty Item:**
* Start by cleaning the item with a dry rag or brush to remove any loose dirt, debris, or flaking rust. This will help the WD-40 penetrate the rust more effectively.
* If the item is small enough, consider soaking it in a container filled with WD-40 for several hours or even overnight. This will loosen the rust and make it easier to remove.
2. **Apply WD-40:**
* Generously spray the rusty area with WD-40. Make sure to saturate the rust thoroughly.
* Let the WD-40 soak for at least 10-15 minutes. This will give it time to penetrate the rust and loosen its grip on the metal. For heavily rusted items, I often let it soak for several hours or even overnight.
3. **Scrub with a Wire Brush:**
* Using a wire brush, scrub the rusty area vigorously. Apply firm pressure and work in a back-and-forth motion.
* Focus on areas with heavy rust buildup. You may need to scrub for several minutes to remove the bulk of the rust.
* Use different sizes and shapes of wire brushes to reach those hard-to-reach spots. A small detail brush can be helpful for cleaning intricate areas.
4. **Wipe Away Debris:**
* As you scrub, wipe away the rust debris and excess WD-40 with a rag or paper towel. This will help you see your progress and prevent the rust from simply being spread around.
5. **Sandpaper Treatment:**
* Once you’ve removed the bulk of the rust with the wire brush, it’s time to smooth out the surface with sandpaper.
* Start with a coarse grit sandpaper (e.g., 80-grit) to remove any remaining rust and imperfections.
* Work your way up to finer grits (e.g., 120-grit, 220-grit, 400-grit) to achieve a smooth finish.
* Sand in a consistent direction to avoid creating scratches.
* Wipe away the sanding dust with a clean rag after each grit.
6. **Steel Wool (Optional):**
* For stubborn rust spots or to achieve a polished finish, you can use steel wool.
* Apply a small amount of WD-40 to the steel wool and gently rub the affected area.
* Be careful not to apply too much pressure, as steel wool can scratch the metal.
7. **Clean and Dry:**
* Once you’re satisfied with the rust removal, thoroughly clean the item with a clean rag and some degreaser or soap and water.
* Dry the item completely to prevent further rust formation.
8. **Protect the Metal (Optional):**
* To prevent future rust, consider applying a rust converter or primer to the cleaned metal surface.
* Rust converters chemically react with the remaining rust, converting it into a stable, protective coating.
* Primers provide a barrier against moisture and oxygen, preventing rust from forming.
* You can also apply a coat of paint or sealant to further protect the metal.
Dealing with Stubborn Rust
Sometimes, rust is particularly stubborn and requires extra effort. Here are a few tips for dealing with those tough cases:
* **Repeat the Process:** Don’t be afraid to repeat the WD-40 application, scrubbing, and sanding process multiple times. Sometimes, it takes several rounds to completely remove the rust.
* **Soak for Longer:** If the rust is particularly thick, try soaking the item in WD-40 for an extended period, such as overnight or even for a few days.
* **Use a Rust Remover:** If WD-40 alone isn’t doing the trick, you can try using a dedicated rust remover. Follow the manufacturer’s instructions carefully.
* **Heat Treatment:** For very stubborn rust, you can try heating the metal with a heat gun or torch. This can help loosen the rust and make it easier to remove. Be extremely careful when using heat, and always wear appropriate safety gear.
* Electrolysis:** For larger items or significant rust issues, electrolysis can be a very effective method. This involves using an electric current to separate the rust from the metal. However, this method requires specialized equipment and knowledge.
Preventing Future Rust
Once you’ve successfully removed the rust, it’s important to take steps to prevent it from returning. Here are a few tips:
* **Keep Items Dry:** Moisture is the enemy of metal. Store your tools and metal objects in a dry place to prevent rust from forming.
* **Apply a Protective Coating:** Apply a protective coating, such as paint, sealant, or oil, to the metal surface. This will create a barrier against moisture and oxygen.
* **Regular Maintenance:** Regularly inspect your tools and metal objects for signs of rust. If you spot any rust, address it immediately to prevent it from spreading.
* **Use a Desiccant:** In humid environments, consider using a desiccant (a moisture-absorbing substance) to keep your tools and metal objects dry.
* **WD-40 as a Preventative:** A light spray of WD-40 can also act as a preventative measure. Just wipe off the excess.
Specific Applications
Here are some specific examples of how I’ve used this method:
* **Rusty Tools:** I’ve used this method to restore countless rusty tools, from wrenches and screwdrivers to garden shears and shovels.
* **Car Parts:** WD-40 is great for removing rust from car parts, such as brake rotors, exhaust pipes, and body panels.
* **Bicycles:** I’ve used WD-40 to remove rust from bicycle chains, gears, and frames.
* **Household Items:** This method can also be used to remove rust from household items, such as hinges, doorknobs, and metal furniture.
Final Thoughts
Removing rust can be a time-consuming process, but it’s definitely worth the effort. With a little patience and the help of WD-40, you can restore your rusty tools and metal objects to their former glory. Remember to always prioritize safety and take preventative measures to avoid future rust problems. Good luck, and happy rust removal!
Conclusion
So, there you have it! Unlocking the power of WD-40 for rust removal on your tools is a game-changer. We’ve explored a simple, effective, and surprisingly versatile method to breathe new life into your trusty companions. Why is this DIY trick a must-try? Because it saves you money, extends the lifespan of your tools, and is incredibly easy to implement. Instead of prematurely replacing rusted tools, you can restore them to near-original condition with a product you likely already have in your garage.
This isn’t just about removing rust; it’s about reclaiming your investment and reducing waste. Think about the environmental impact of constantly buying new tools. By embracing this WD-40 rust removal technique, you’re contributing to a more sustainable approach to tool maintenance.
But the benefits don’t stop there. A clean, rust-free tool is a safer and more efficient tool. Rust can compromise the integrity of metal, making tools more prone to breakage and less effective at their intended purpose. By removing rust, you’re ensuring that your tools perform optimally and minimize the risk of accidents.
Consider these variations to personalize your WD-40 rust removal process:
* **For heavily rusted tools:** Allow the WD-40 to soak for an extended period, even overnight. You can also use a wire brush attachment on a drill for more aggressive rust removal.
* **For delicate tools:** Opt for a gentler approach by using a soft cloth or toothbrush to apply and work the WD-40. Avoid abrasive scrubbing that could damage the tool’s surface.
* **Preventative Maintenance:** After removing the rust and drying your tools, apply a thin coat of WD-40 as a preventative measure to inhibit future rust formation. This will keep your tools in top condition for longer.
* **Combine with other methods:** For stubborn rust, consider combining WD-40 with other rust removal techniques, such as soaking the tool in vinegar or using a rust converter. However, always test these methods on a small, inconspicuous area first to ensure they don’t damage the tool.
We’ve focused on tools, but remember that WD-40’s rust-busting capabilities extend far beyond your toolbox. You can use this method on rusty hinges, garden equipment, automotive parts, and countless other metal objects around your home.
Don’t just take our word for it. We wholeheartedly encourage you to try this DIY WD-40 rust removal trick and witness the transformation for yourself. The results are often astonishing, and you’ll be amazed at how easily you can restore your tools to their former glory.
Once you’ve experienced the magic of WD-40, we’d love to hear about your results! Share your before-and-after photos, tips, and experiences in the comments section below. Let’s build a community of DIY enthusiasts who are passionate about tool maintenance and rust prevention. Your insights could help others discover the power of this simple yet effective technique. Let us know what kind of tools you used it on, and if you tried any of the variations we suggested. Your feedback is invaluable!
Frequently Asked Questions (FAQ)
1. Is WD-40 really effective at removing rust?
Yes, WD-40 is effective at removing rust, especially light to moderate rust. Its penetrating properties help to loosen the rust’s bond with the metal surface, making it easier to scrub or wipe away. WD-40 contains solvents and lubricants that work together to dissolve rust and protect the underlying metal. While it might not be as powerful as dedicated rust converters for extremely heavy rust, it’s a great option for general maintenance and prevention.
2. How long should I let WD-40 soak on the rusted tool?
The soaking time depends on the severity of the rust. For light rust, 10-15 minutes might be sufficient. For moderate rust, allow the WD-40 to soak for at least 30 minutes to an hour. For heavily rusted tools, consider soaking them overnight. The longer the WD-40 has to penetrate the rust, the easier it will be to remove. You can also reapply WD-40 periodically during the soaking process to keep the surface saturated.
3. What’s the best way to scrub off the rust after applying WD-40?
The best scrubbing method depends on the tool and the severity of the rust. For most tools, a wire brush is effective for removing loose rust. For delicate tools or surfaces, use a soft cloth, a nylon brush, or a toothbrush to avoid scratching. Steel wool can also be used for more stubborn rust, but be careful as it can leave behind fine scratches. Always scrub in the direction of the grain of the metal to minimize any potential damage.
4. Will WD-40 damage my tools?
No, WD-40 is generally safe for use on most tools. It’s designed to be non-corrosive and won’t harm metal surfaces. However, it’s always a good idea to test it on a small, inconspicuous area first, especially if you’re working with antique or delicate tools. Avoid using WD-40 on tools with rubber or plastic components, as it can sometimes degrade these materials over time.
5. Can I use WD-40 to prevent rust from forming in the first place?
Absolutely! WD-40 is an excellent preventative measure against rust. After cleaning and drying your tools, apply a thin coat of WD-40 to the metal surfaces. This will create a protective barrier that helps to repel moisture and prevent rust from forming. Reapply WD-40 periodically, especially after using your tools in wet or humid conditions.
6. Is there a specific type of WD-40 that’s best for rust removal?
While the original WD-40 formula works well for rust removal, WD-40 Specialist Rust Remover Soak is specifically designed for this purpose. It’s a more powerful formula that can dissolve rust more quickly and effectively. However, the original WD-40 is still a viable and readily available option for general rust removal and prevention.
7. What safety precautions should I take when using WD-40?
WD-40 is flammable, so avoid using it near open flames or sources of ignition. Work in a well-ventilated area to avoid inhaling the fumes. Wear gloves to protect your skin from prolonged exposure. If WD-40 comes into contact with your eyes, rinse them thoroughly with water. Keep WD-40 out of reach of children.
8. Can I use WD-40 on power tools?
Yes, you can use WD-40 on power tools to remove rust and prevent future corrosion. However, be sure to unplug the power tool before applying WD-40. Avoid spraying WD-40 directly into the motor or electrical components. Instead, apply it to a cloth and wipe down the metal surfaces. Allow the WD-40 to dry completely before using the power tool again.
9. What are some alternatives to WD-40 for rust removal?
If you don’t have WD-40 on hand, there are several alternatives you can use for rust removal. These include vinegar, baking soda paste, lemon juice and salt, and commercial rust removers. Vinegar is a mild acid that can dissolve rust over time. Baking soda paste is a gentle abrasive that can help to scrub away rust. Lemon juice and salt create a chemical reaction that can loosen rust. Commercial rust removers are specifically formulated to dissolve rust quickly and effectively.
10. How do I dispose of WD-40 properly?
WD-40 is considered a hazardous waste, so it’s important to dispose of it properly. Do not pour WD-40 down the drain or into the ground. Instead, take it to a hazardous waste collection facility or a recycling center that accepts hazardous materials. You can also contact your local waste management department for information on proper disposal methods in your area.
Leave a Comment